In my previous post, "Solution to 4 Common First-world Problems – Convert and Merge to PDF," I implemented a solution to convert images of documents to text-searchable PDF files. The source images were produced from a document scanner and the camera on my phone. Since that post, I have received some questions on how to improve the human readability of the PDFs that were originally camera images.
As compared to mobile camera images, images of documents created by a scanner are usually very clean and readable. This is because of the placement of the document and sensor, and lighting conditions are much more controlled when using a scanner. For example, a scanner has guides to ensure the user puts the document in the correct location, the scanner's image sensor and lamp are always in the same position relative to the document, and ambient light is not present.
On the other hand, conditions are nowhere near as controlled when using the camera on a mobile device. The list of variables that can affect image quality include two-dimensional skew of the document, the camera may be on a non-perpendicular plane to the document causing three-dimensional skew, the camera's flash may be turned on or off, and ambient lighting across the document can vary from one part of the document to another. There are things the user can do to try to correct these issues and there are image processing functions that I will cover can also help.
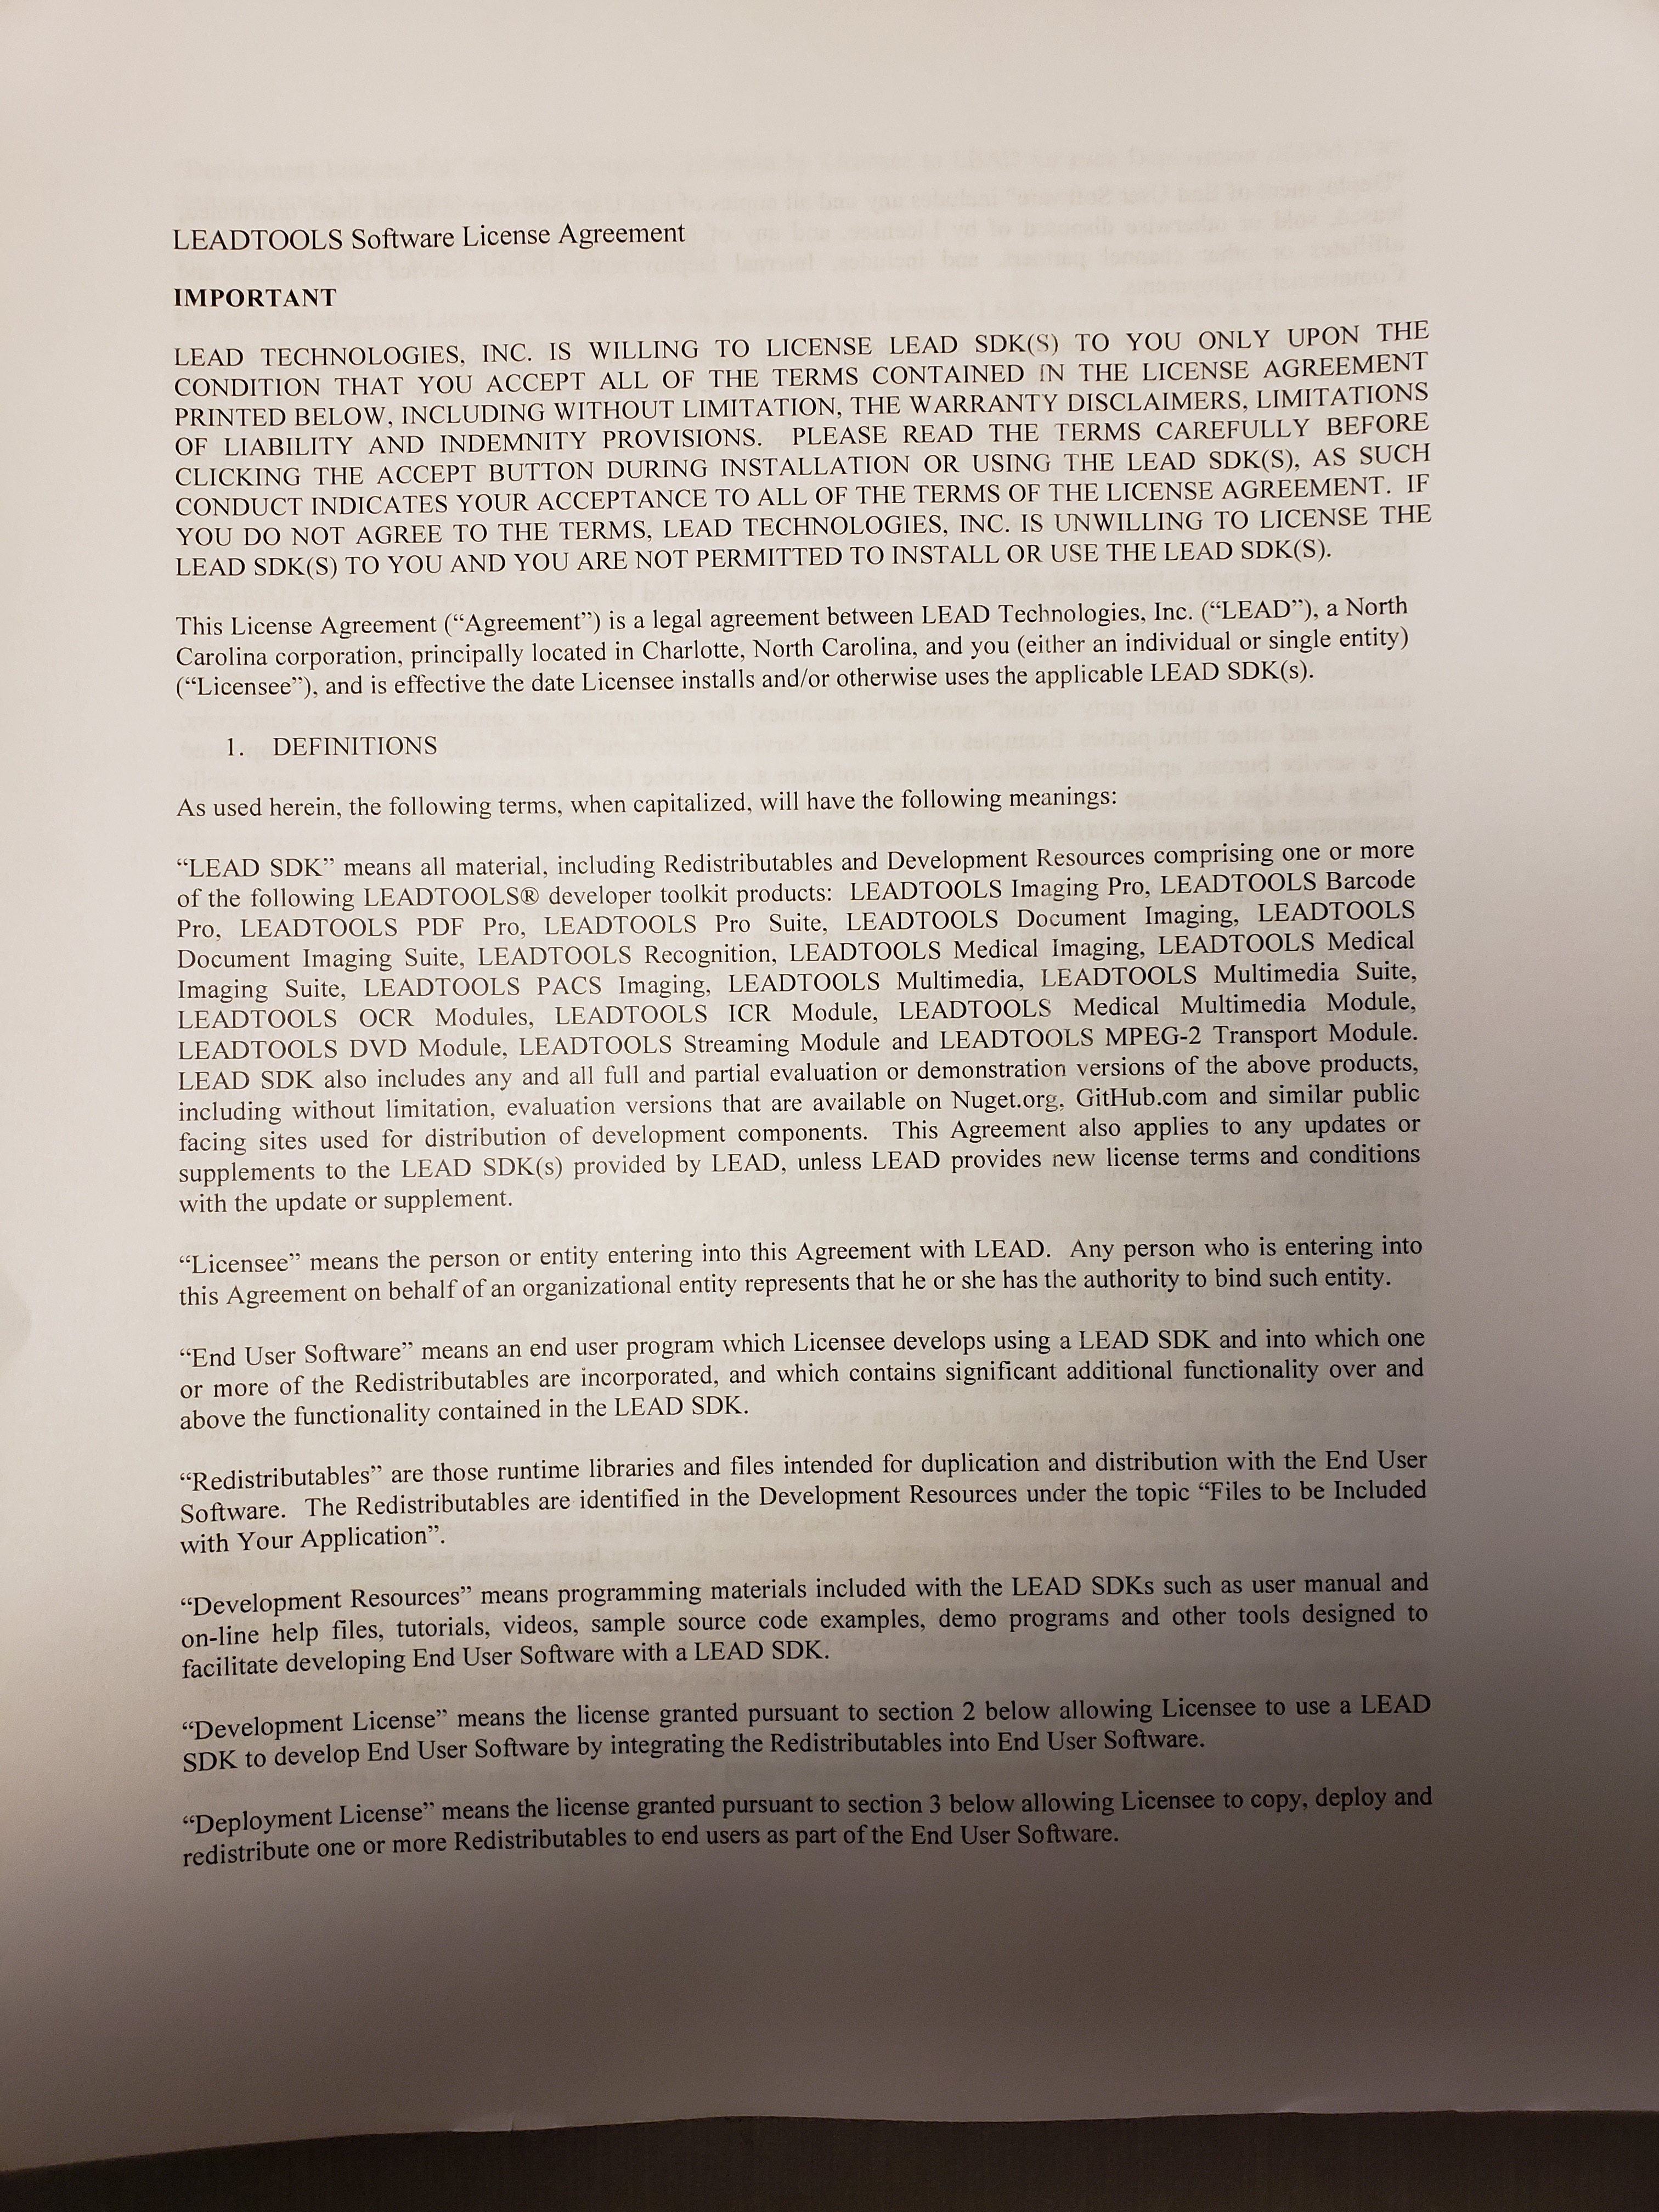
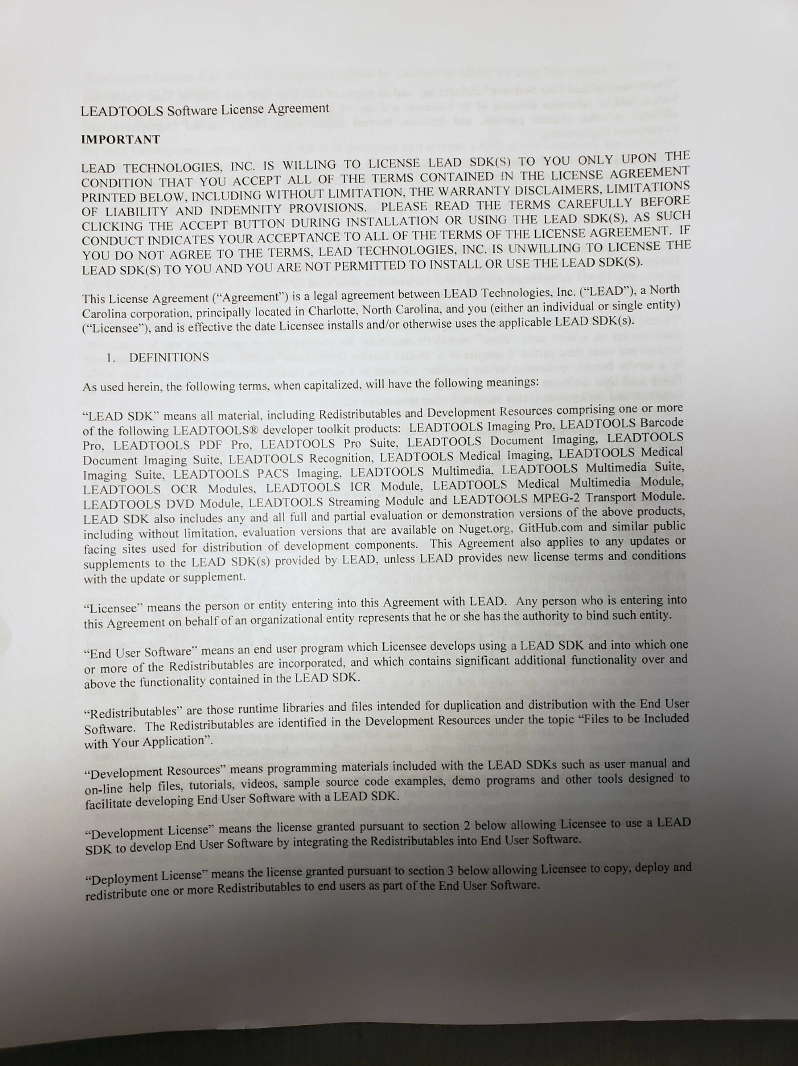
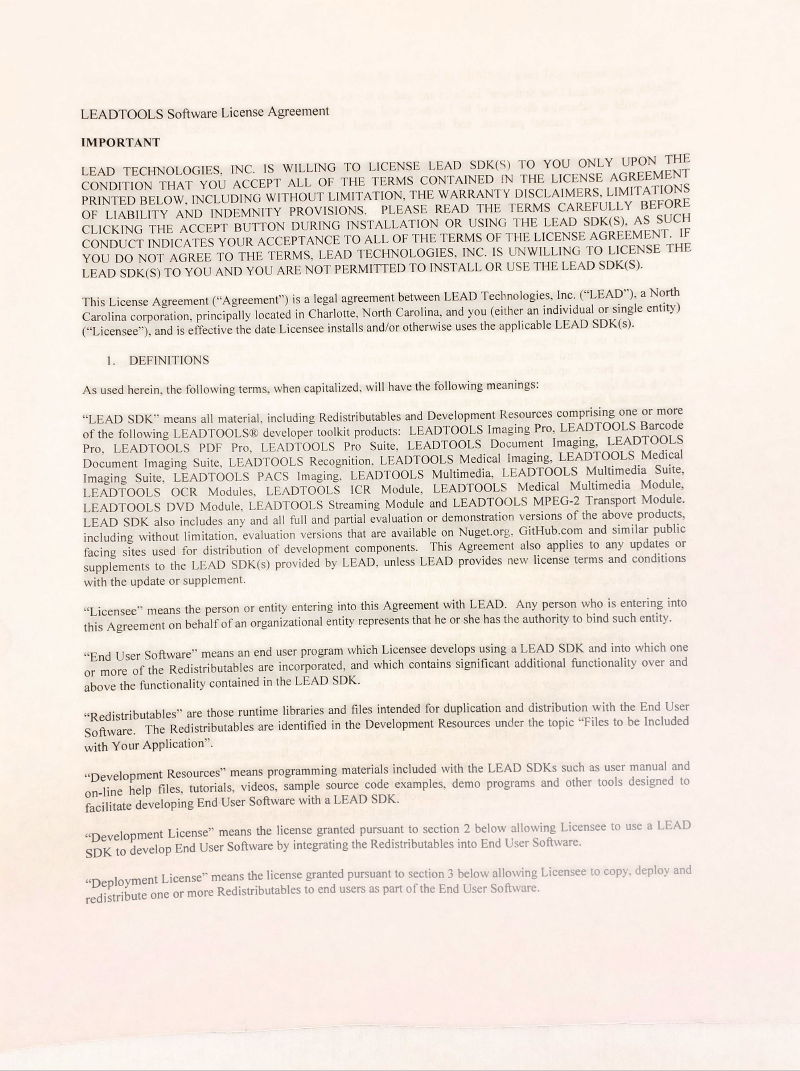
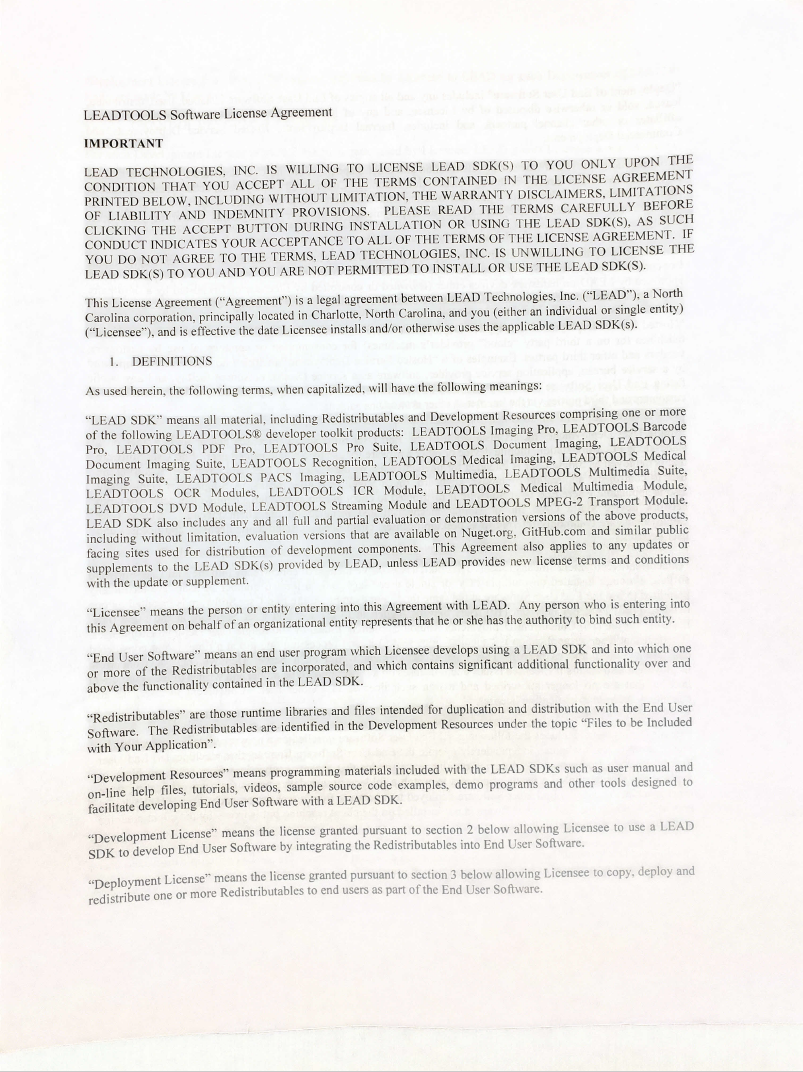
Today, we are going to tackle variances in ambient lighting. These variances can cause whites to be reddish and the background to be darker in areas of the photo (shadows). Below is a prime example of these ambient lighting issues:
As the photographer, I could have used a light box to ensure a more uniformly lit environment, but if I have to go through that much trouble, I might as well use a scanner. The better and more efficient solution is to fix the image in post with image processing. To do this, I updated my project to include a new static class called Preprocessor. I added a function called PreprocessDocumentPhoto().
I updated the DocumentConvertJobEventHandler to call the Preprocessor.PreprocessDocumentPhoto() function just before the OCR engine runs. Here is the updated code:
private static readonly EventHandler<DocumentConverterJobEventArgs> JobOperationEventHandler =
	(sender, e) =>
{
	ConsoleHelper.StatusProgress();
	if (!e.IsPostOperation || e.Operation != DocumentConverterJobOperation.LoadRasterPage ||
	    e.OcrPage == null) return;
	var rasterImage = e.OcrPage.GetRasterImage(OcrPageType.Original);
	Preprocessor.PreprocessDocumentPhoto(rasterImage);
	e.OcrPage.SetRasterImage(rasterImage);
};
That event handler is hooked up just before the call to the DocumentConverter.Jobs.RunJob() call.
documentConverter.Jobs.JobOperation += JobOperationEventHandler;
documentConverter.Jobs.RunJob(job);
documentConverter.Jobs.JobOperation -= JobOperationEventHandler;
Correcting the color is accomplished with one command that takes no parameters, as shown below in the AutoColorLevel() function:
private static readonly EventHandler<RasterCommandProgressEventArgs> CommandProgressHandler =
	(sender, args) => ConsoleHelper.StatusProgress();

private static void ProcessImage(RasterImage image, RasterCommand cmd)
{
	cmd.Progress += CommandProgressHandler;
	cmd.Run(image);
	cmd.Progress -= CommandProgressHandler;
}

private static void AutoColorLevel(RasterImage image)
{
	ProcessImage(image, new AutoColorLevelCommand());
}
As shown in the image below, the color of the paper is truer in the corrected image as compared to the original photo.
To remove the shadow in the bottom-third of the document, I am going to employ the SubtractBackgroundCommand.
private static void BackgroundRemoval(RasterImage image)
{
	ProcessImage(image,
		new SubtractBackgroundCommand
		{
			BrightnessFactor = 100,
			RollingBall = 35,
			ShrinkingSize = SubtractBackgroundCommandType.DependOnRollingBallSize,
			Flags = SubtractBackgroundCommandFlags.BackgroundIsBrighter
		});
}
Running only that command results in the following image:
Putting both functions together results in a much higher quality and readable image.
public static void PreprocessDocumentPhoto(RasterImage image)
{
	for (var i = 1; i <= image.PageCount; i++)
	{
		image.Page = i;

		AutoColorLevel(image);
		BackgroundRemoval(image);
	}
}
Notice that the background still has some noise and is still not completely uniform. Additionally, the text where the shadow was appears washed out. To correct these issues, add DesaturateCommand and AutoDocumentBinarizationCommand. The documentation for the AutoDocumentBinarizationCommand class recommends using a grayscale image; the DesaturateCommand converts the image to grayscale. One could also use the GrayscaleCommand in place of the DesaturateCommand. The main difference between the two commands is that the GrayscaleCommand changes the bits per pixel of the image whereas the DesaturateCommand maintains the bits per pixel.
private static void Desaturate(RasterImage image)
{
	ProcessImage(image, new DesaturateCommand());
}

private static void AutoDocumentBinarization(RasterImage image)
{
	ProcessImage(image, new AutoDocumentBinarizationCommand());
}

public static void PreprocessDocumentPhoto(RasterImage image)
{
	for (var i = 1; i <= image.PageCount; i++)
	{
		image.Page = i;

		AutoColorLevel(image);
		BackgroundRemoval(image);
		Desaturate(image);
		AutoDocumentBinarization(image);
	}
}
This results in an almost perfect document image. (There is still a little skew, but I am saving that for my next post.):
Application Output: Lighting - Corrected (PDF version)
Stay tuned for my next posts where I address two-dimensional and three-dimensional skewing. At the end of the series, I will post the source for the complete solution. In the meantime, if you have any questions or special requests, add a comment to this post or send an email to support@leadtools.com.
UPDATE: Posted Correct Photos of Documents - 2D and 3D Skew
