As part of the LEAD Technologies 25th anniversary, we are creating 25 projects in 25 days to celebrate LEAD's depth of features and ease of use. Today's project comes from Joe.
What it Does
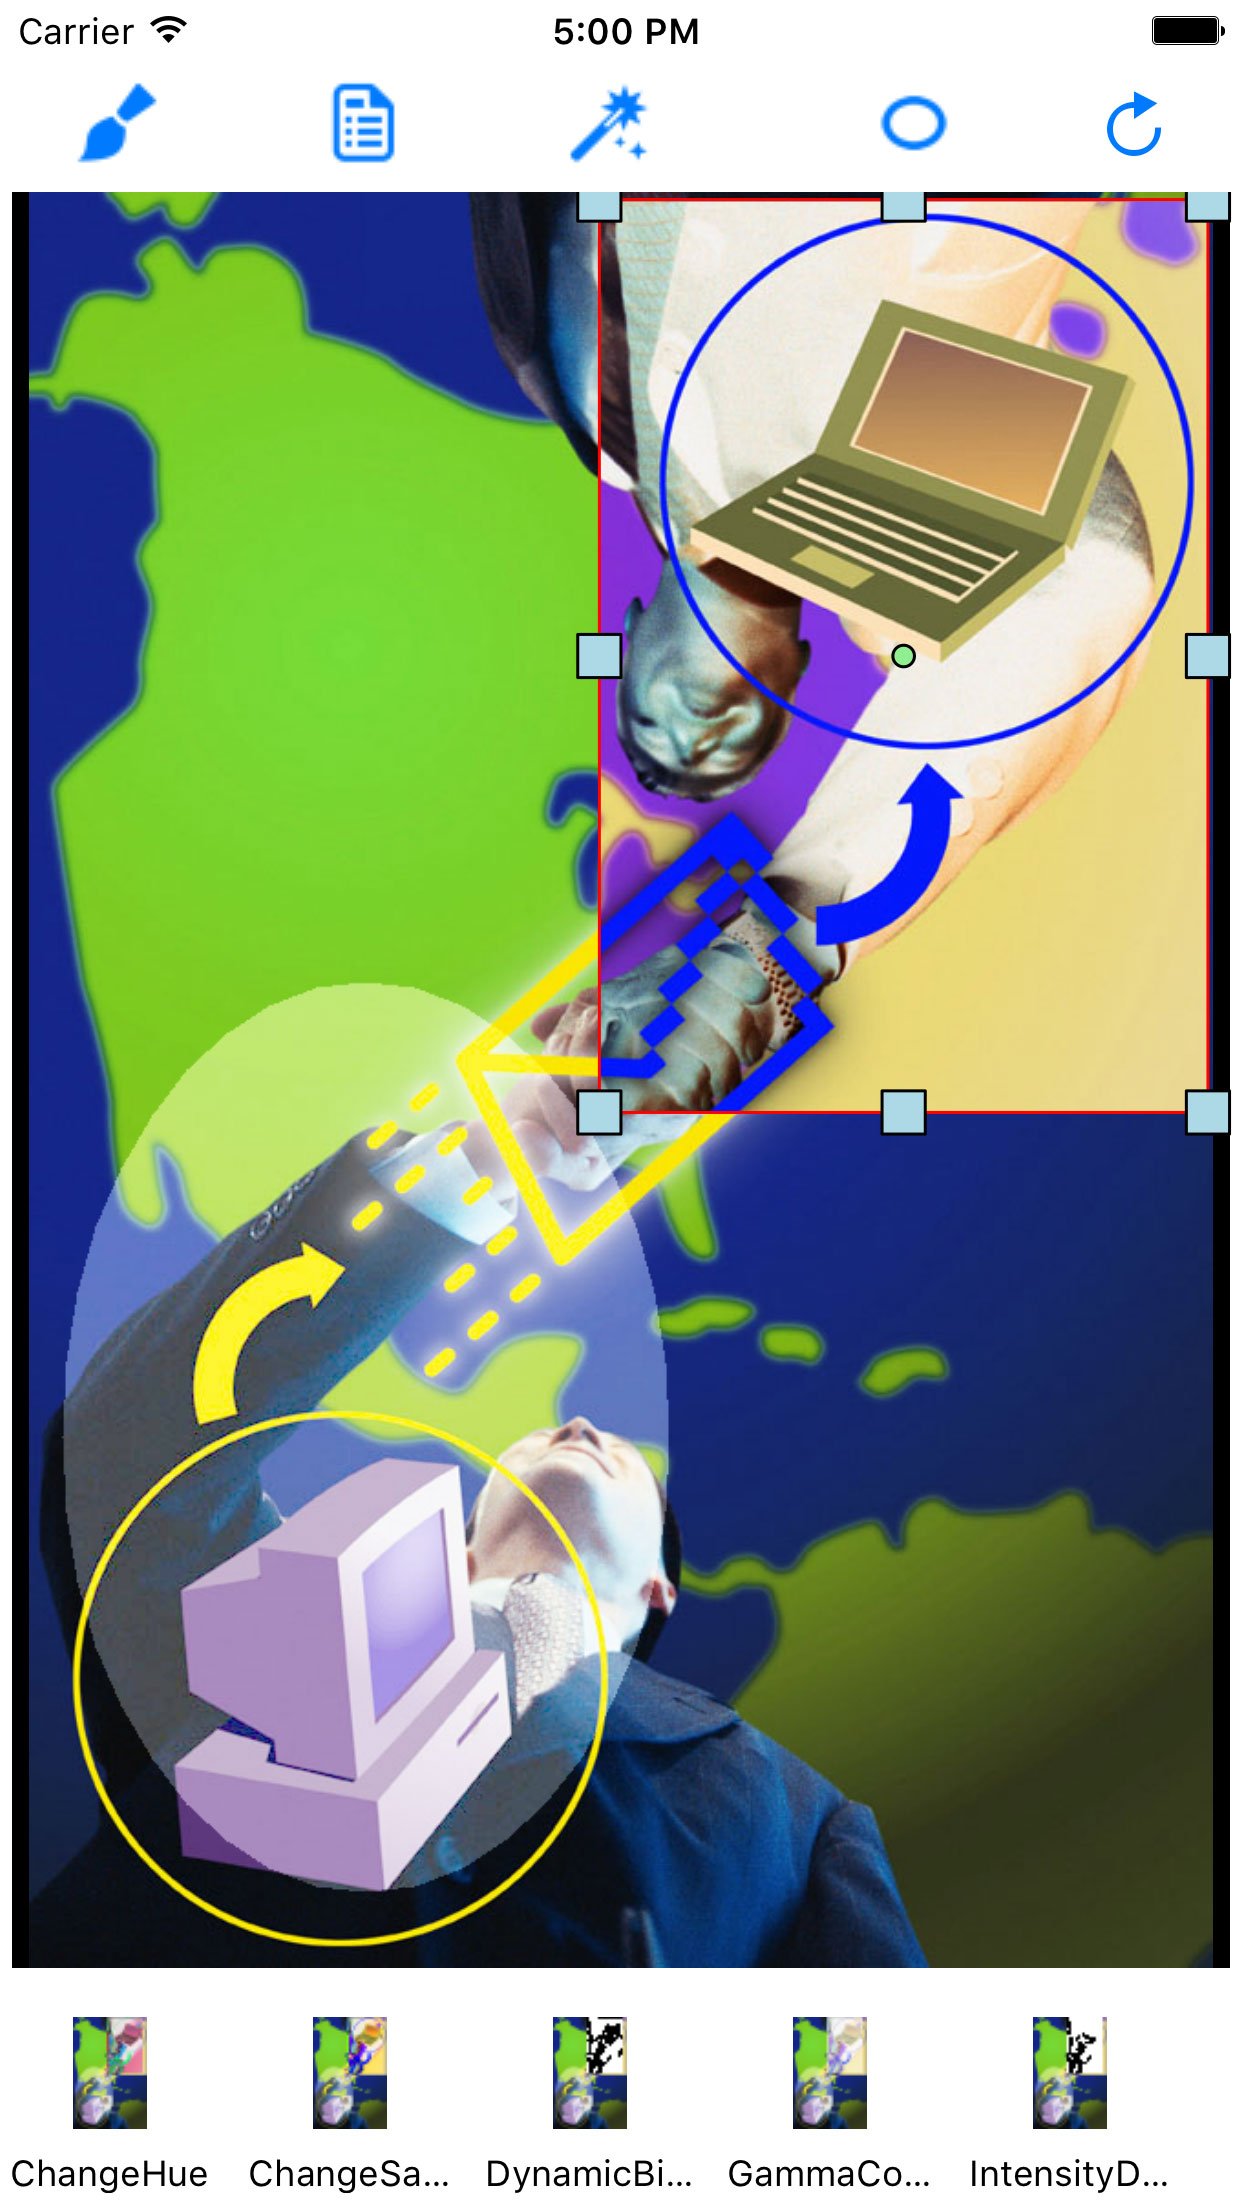
This project uses annotations to draw regions on which image processing will be performed using LEADTOOLS Version 18.
Features Used
Development Progress Journal
My name is Joe and I am going to create a project that performs Image Processing on a particular region of the image dictated by a rectangle or an ellipse annotation.
I am using LEADTOOLS Document Imaging version 18 (iOS). I'm developing this application using Apple's native programming environment, Xcode.
Before starting I need to determine which programming language to use, Objective-C or Swift. Our iOS frameworks are written in Objective-C, however, since Objective-C frameworks are able to be used in Swift code (with the help of a Bridging Header File) I am going to program in Swift to showcase how to use LEADTOOLS' iOS SDK with Swift.
After starting up Xcode, I selected a Single View Application since we only need one view. After looking at the IPDemo that ships with the SDK, I found a helper class (
DemoCommandItem) that is going to be useful, so I imported it into the project. I added theLeadtools,Leadtools.Kernel,Leadtools.Controls,Leadtools.Converters, all of theLeadtools.ImageProcessing.*frameworks as well as all of theLeadtools.Annotations.*frameworks.After I imported all of the frameworks, I added them to the bridging header file for the project (Note that I'm using the LEADTOOLS templates provided here so the precompiled header file and the project settings have been configured for me) so that all of the Objective-C API will be available in the Swift code
Now that I have all of the LEADTOOLS frameworks added, I compiled quickly to make the LEADTOOLS API publically available in all files. I then proceeded to configure my Storyboard. In the main view I added an instance of the
LTImageViewerclass and aUICollectionViewclass (for the thumbnails).Now in my
ViewControllerclass, I wrote the code for setting the bar button items (for loading the commands), the array to hold all of the commands, another array to act as a stack for allowing us to undo the commands, and then I set up the delegate anddataSourcemethods for theUICollectionViewthat I have in the main view.Since LEADTOOLS provides all of the Image Processing commands that I'm using, that's all that I had to do. When I run it now I can scroll through all of the thumbnails to select the command that I want to use. Once I run the command, all of the thumbnails update to show me what running the next command on the current image will look like. Super easy. Part one of this project is now done.
To make the Image Processing work on only the region dictated by the annotation, we need to add a couple of classes to our
ViewControllerclass:LTAnnAutomationManager,LTAnnAutomation, andLTAnnObject. We first create ourLTAnnAutomationManagerwith theLTAnnUniversalRenderingEngine, we use our manager to create ourLTAnnAutomationclass and then we add ourLTAnnObject(LTAnnRectangleObjectto start off). We then modify the methods that run the image processing commands to set the region in the image before running the image processing command. The region that's set uses the bounds of the annotation. After doing this, our project is complete!This project, all in all, took me 6 hours to set up. The main issue that I had was in setting up the custom
UICollectionViewclass (not LEADTOOLS related). The LEADTOOLS portion of this project took no more than an hour to two to fully configure.
Download the Project
The source code for this sample project can be downloaded from here.
