Run the LEADTOOLS Medical Web Viewer External Controller Demo - HTML5 JavaScript
This tutorial shows how to run the LEADTOOLS Medical Web Viewer External Controller Demo in a browser using JavaScript.
| Overview | |
|---|---|
| Summary | This tutorial covers how to run the JavaScript Medical Web Viewer External Controller. |
| Completion Time | 10 minutes |
| Platform | HTML5/JS |
| IDE | Visual Studio Code |
| Development License | Download LEADTOOLS |
| Try it in another language |
|
Required Knowledge
Before any functionality from the SDK can be leveraged, a valid runtime license will have to be set.
For instructions on how to obtain a runtime license refer to Obtaining a License.
Medical Web Viewer is Required
The LEADTOOLS Medical Web Viewer is required to be set up before using the External Controller, refer to Install and Configure the LEADTOOLS Medical Web Service.
Configure the Service
To change the default Service and Medical Viewer URI, navigate to the myMain.js found at the following file path: <INSTALL_DIR>\LEADTOOLS23\Examples\Medical\JS\MedicalWebViewer\MedicalWebViewerDemo\src\Samples\JS
Change the default_host to your default service URI and change the default_Line to your default Medical Web Viewer URI. By default, it should look as it does below.
var default_host ="http://localhost/MedicalViewerService";var default_Line ="http://localhost/MedicalViewer";
Demo Walkthrough
Navigate to the JavaScript External Controller Demo project folder in the below file path.
<INSTALL_DIR>\LEADTOOLS23\Examples\Medical\JS\MedicalWebViewer\MedicalWebViewerDemo\src\Samples
To run the demo double click on the ExternalControllerDemo.htm file.
Login Page
Once you run the demo, the default Login/Logout tab is loaded. You will also see several configuration options, such as the use of ASP or WCF services, use of https, and the option to input custom Service and Medical Viewer URIs.
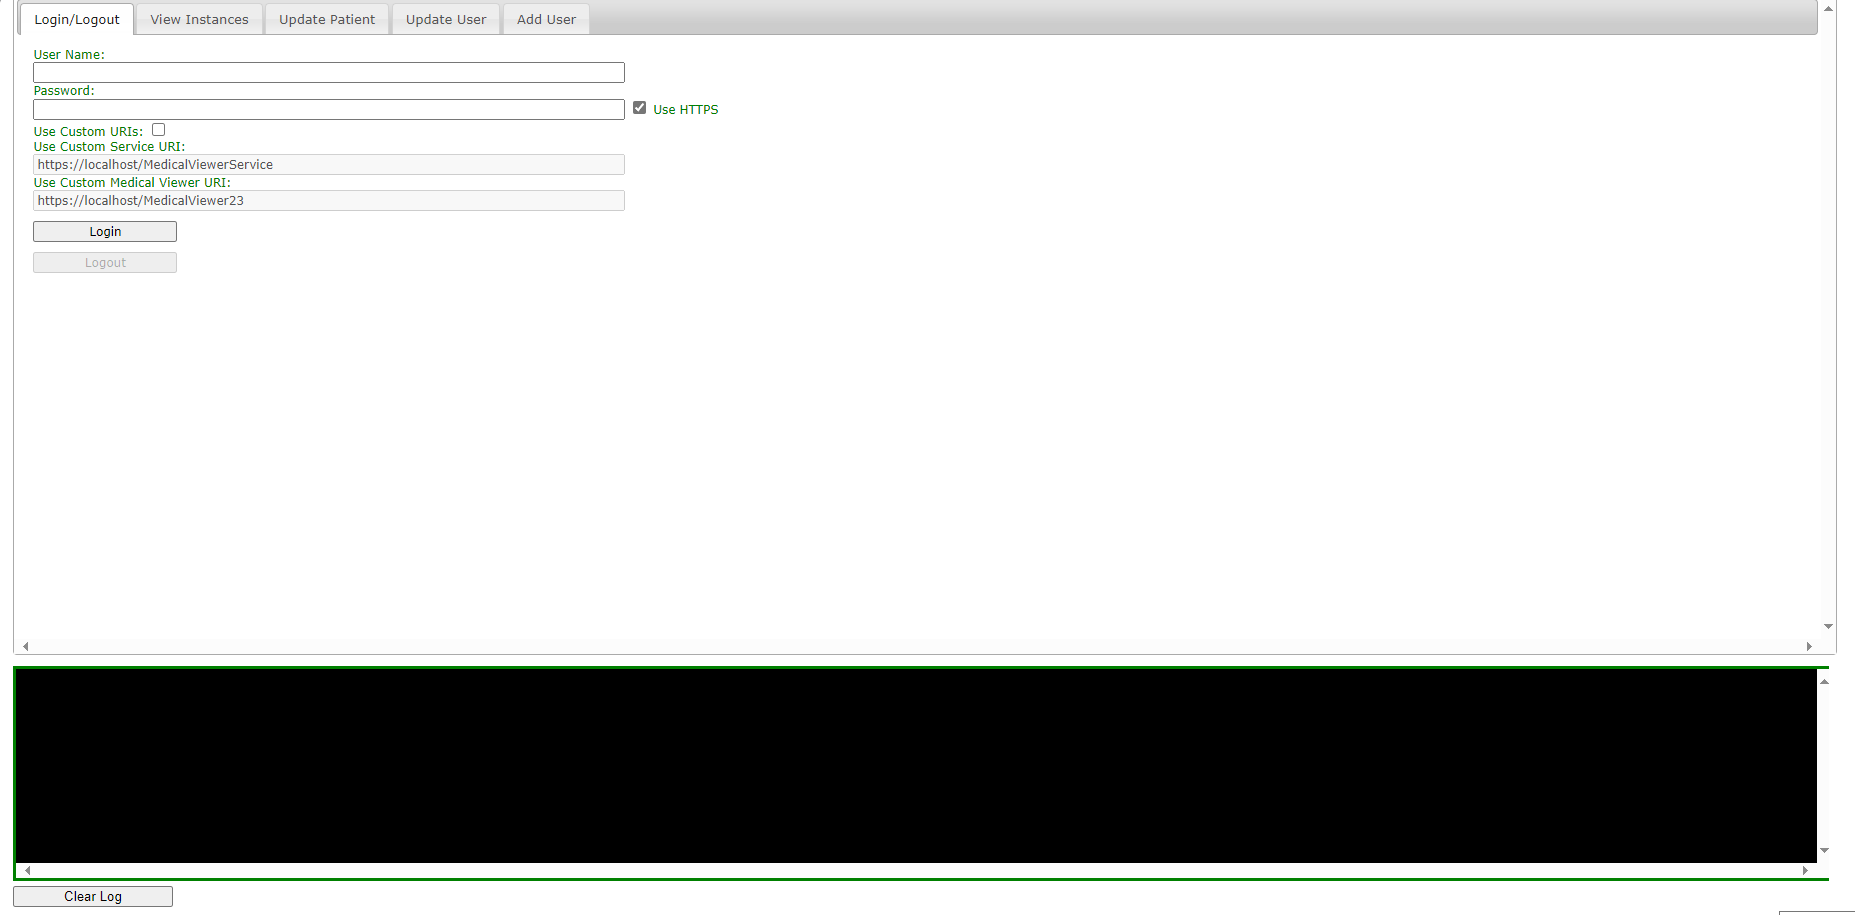
The Logger at the bottom of the window will return messages based on activity, including error messages.
Medical Web Viewer
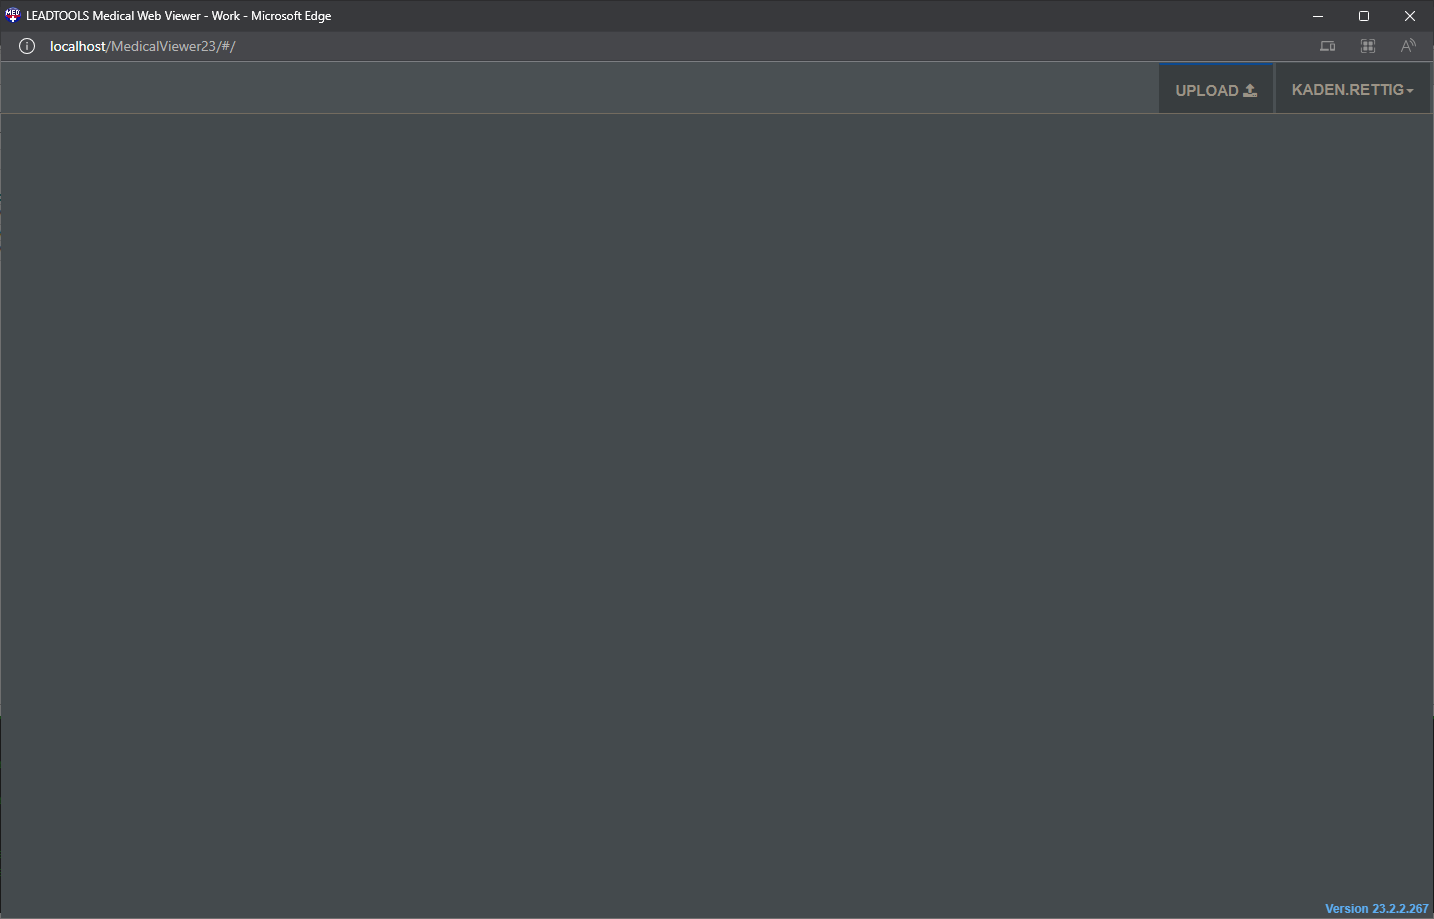
Once you log in successfully, the Medical Web Viewer will launch in another browser window. All requests for images will appear here, as well as the option to upload files to the database.
View Instances Tab
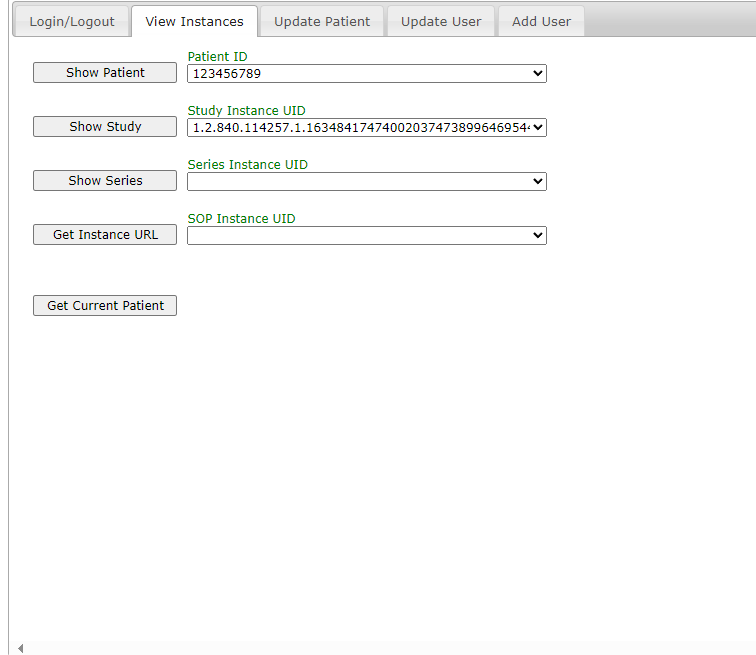
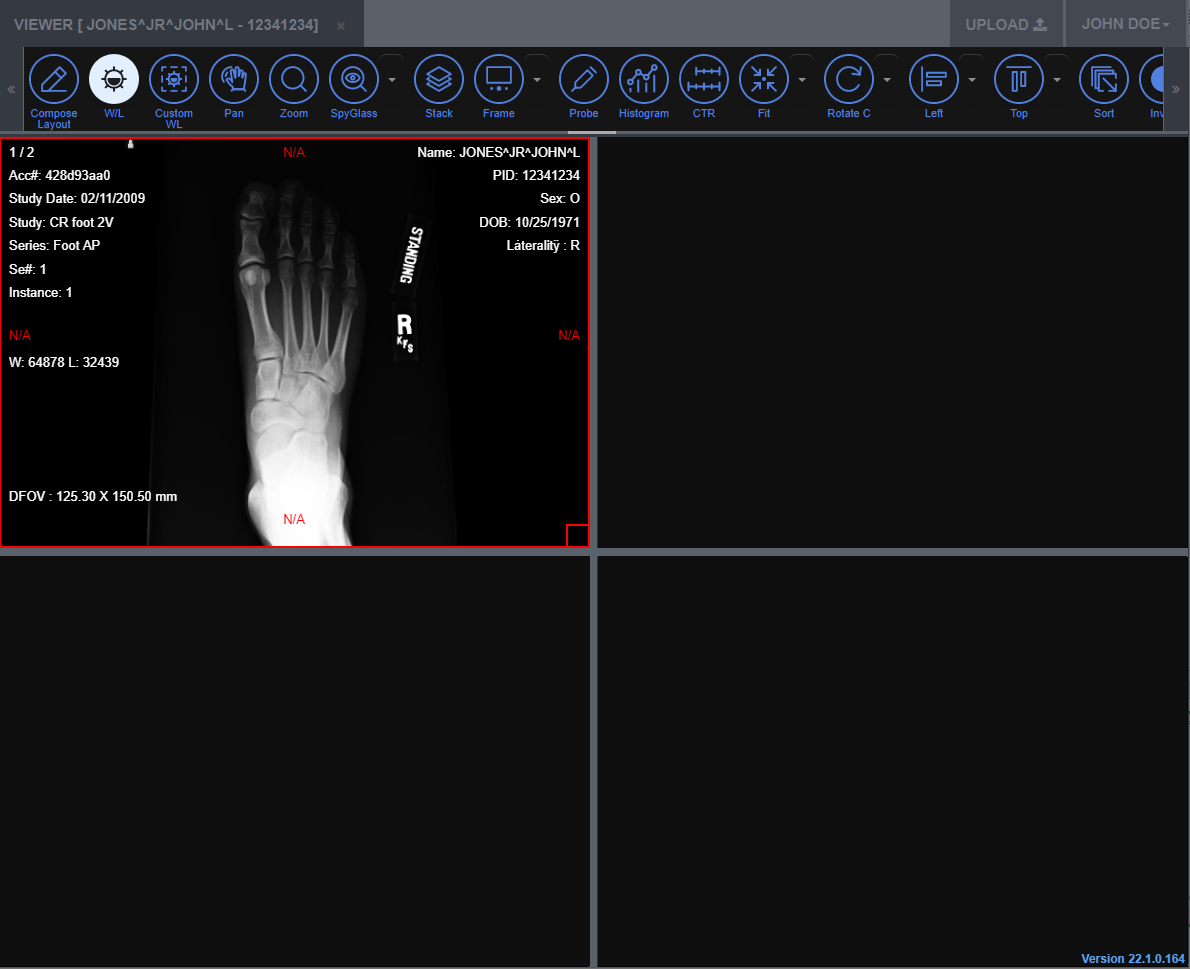
The View Instances tab holds the controls for viewing patient information and where the images will be returned to the Medical Web Viewer.
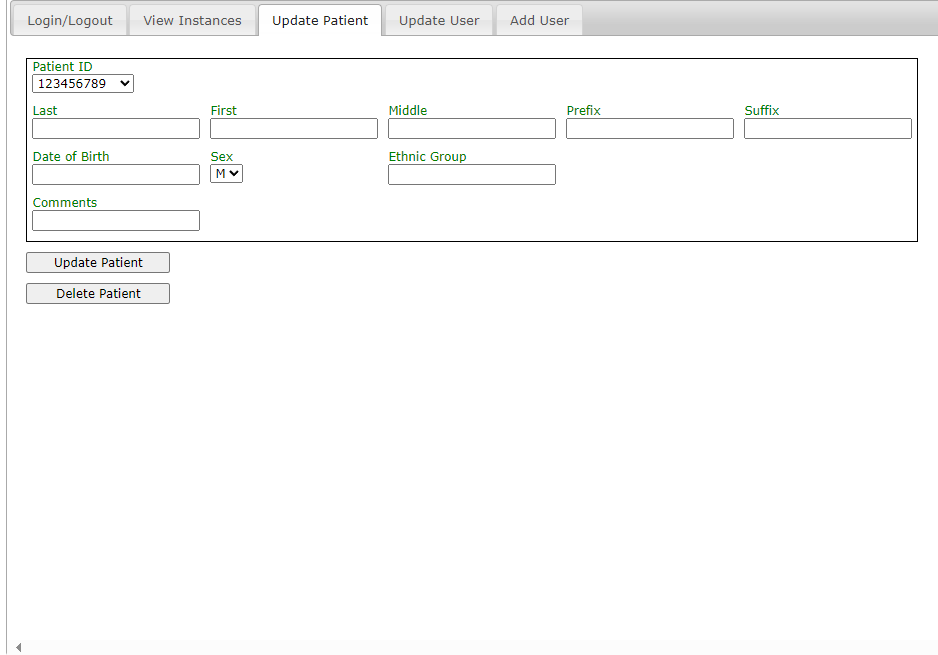
Update Patient
The Update Patient tab holds the controls for changing patient information or deleting a patient entry.
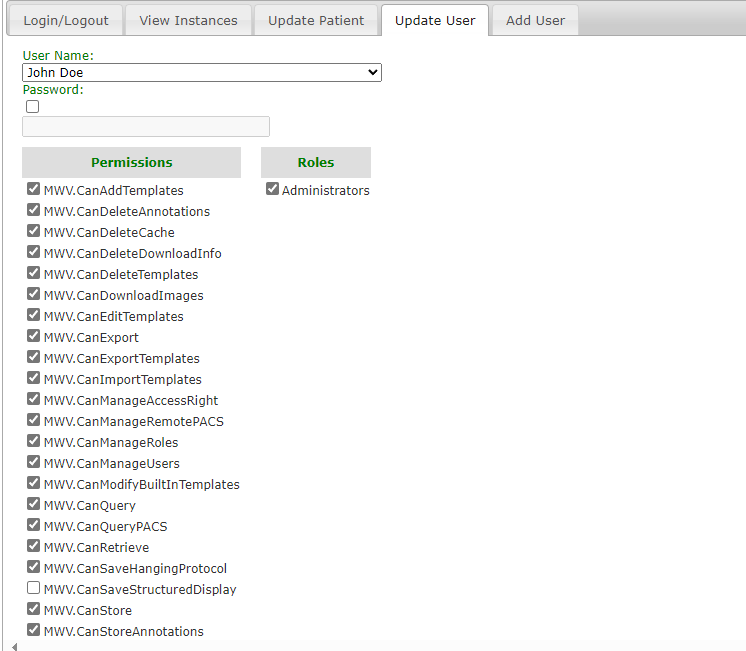
Update User
The Update User tab holds the controls for updating users such as changing permissions and deleting accounts.
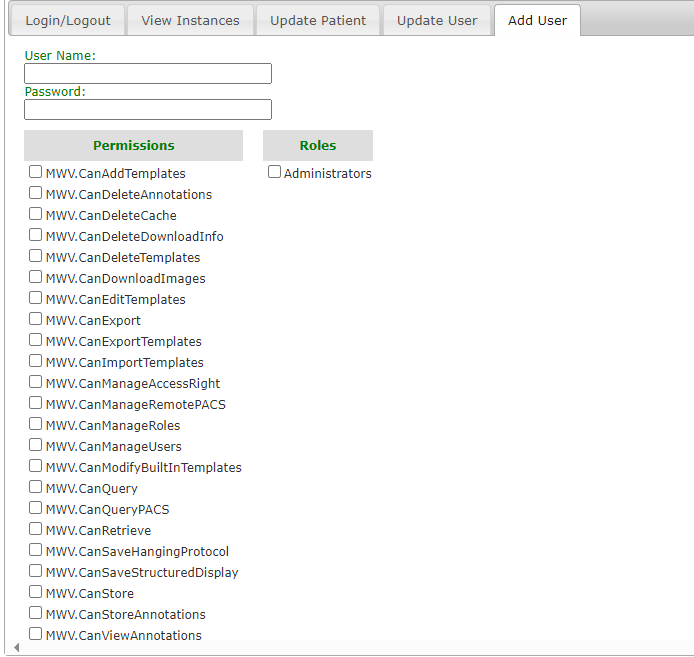
Add User
The Add User tab holds the controls for adding new users.
Wrap-up
This tutorial showed how to run and use the JavaScript Implementation of the External Controller Demo.
