Configure and Run the LEADTOOLS Medical Web Viewer - React JS
This tutorial shows how to configure and run the LEADTOOLS React JS Medical Web Viewer.
| Overview | |
|---|---|
| Summary | This tutorial covers how to run the LEADTOOLS Medical Web Viewer React JS application. |
| Completion Time | 30 minutes |
| Platform | React JS Web Application |
| IDE | Visual Studio 2022, Visual Studio Code - Client |
| Development License | Download LEADTOOLS |
Required Knowledge
You will need to have the LEADTOOLS SDK downloaded in order to complete this tutorial.
ASP.NET Core Runtime
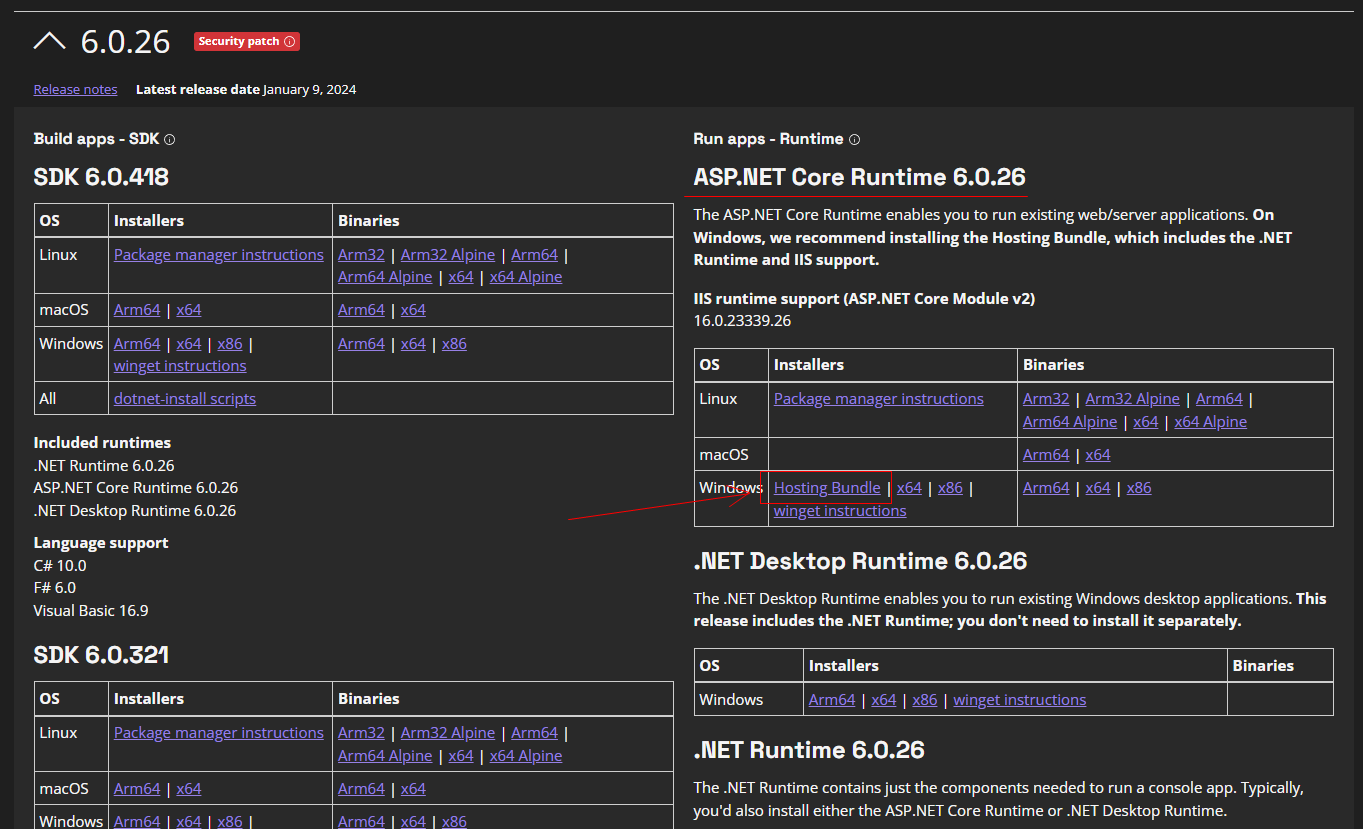
Several of the services required by the React JS Medical Web Viewer require the ASP.NET Core Runtime. Open a browser and navigate to https://dotnet.microsoft.com/en-us/download/dotnet/6.0. Install the Windows Hosting Bundle under the ASP.NET Core Runtime section:
Node.js and NPM
The latest LTS version of Node.js and NPM must also be installed, as the React JS Medical Web Viewer requires these dependencies to run correctly. The React JS Medical Web Viewer uses version 20.11.0, which includes NPM 10.2.4. Open a browser and navigate to https://nodejs.org/en/download/package-manager, then download and run the installer for your operating system.
Set the License File
The HTML5 Viewer requires that a LEADTOOLS.lic.txt file be placed into a sub-folder in the License directory. Adding this license file will remove the Nag Message seen by the client. This LEADTOOLS.lic.txt file is generated separately from the LEADTOOLS.LIC and LEADTOOLS.LIC.KEY files. Note that the LEADTOOLS.lic.txt file cannot be created based on either of those files. This file must be generated by the LEAD Sales department and be provided to you.
After you receive the file, replace the license files with these new files in the following directory:
<LEADTOOLS_INSTALLDIR>\LEADTOOLS23\Examples\Medical\JS\MedicalWebViewerReact\MedicalWebViewerDemo.Frontend\FrontendApp\License
Alternatively, you can navigate to and replace these files using the Visual Studio Solution Explorer.
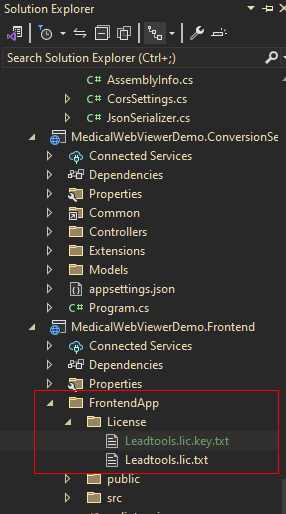
If there is any question about where the code is searching for the LEADTOOLS.lic.txt file, simply open the browser's JavaScript debugger and check the console to determine where the viewer is searching for the LEADTOOLS.lic.txt.
Note
If you are evaluating the toolkit, you do not need to replace the license files. However, a nag message will still be displayed indicating that the version being used is for evaluation only.
Directory Structure
The entire React JS Medical Viewer project can be found in the <LEADTOOLS_INSTALLDIR>\Examples\Medical\JS\MedicalWebViewerReact folder.
Run the Project
In order to run properly, this project must be opened with Windows Administrative privileges. To do so, click the Windows Home button and search for your Visual Studio installation. Then, click Run as administrator and follow the prompts. Once Visual studio has loaded, you can open the React JS Medical Web Viewer project as you would for any other project.
Once the project is loaded, click the Start button or press F11 to launch the React JS Medical Web Viewer. This will open a variety of browser tabs corresponding to the services required to support the Medical Web Viewer, as well as the Medical Web Viewer itself.
The DICOM Web Service
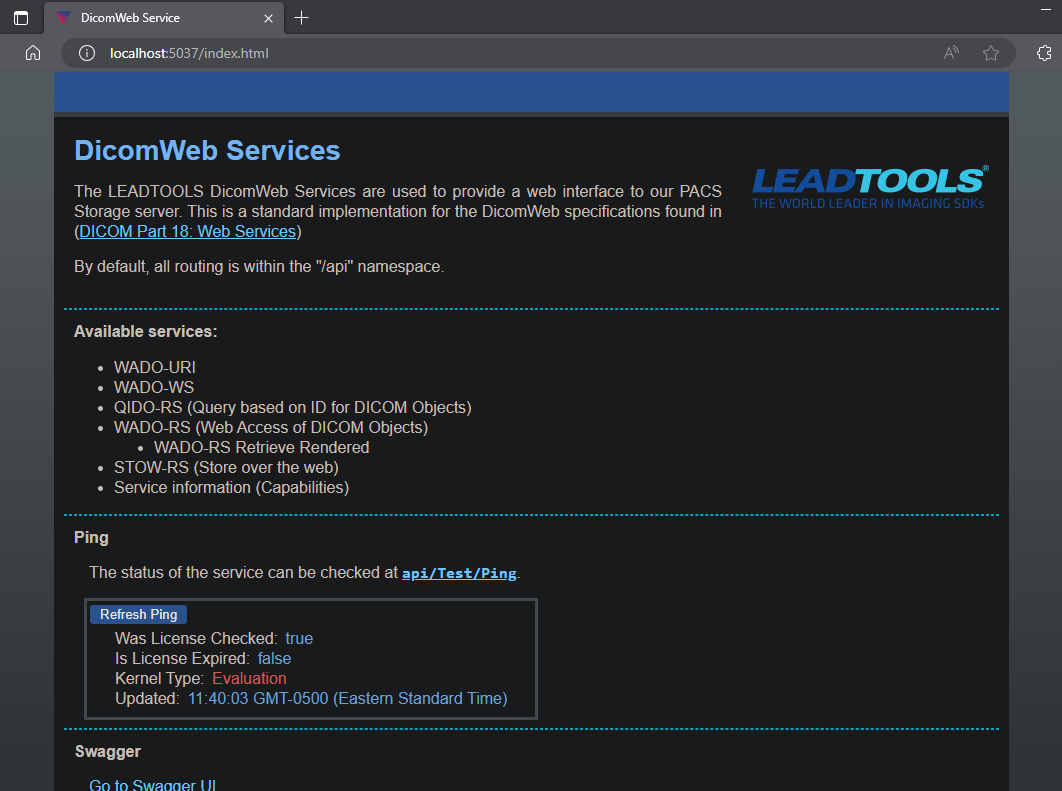
The LEADTOOLS DicomWeb Services are used to provide a web interface to our PACS Storage server. This is a standard implementation for the DicomWeb specifications found in DICOM Part 18: Web Services.
By default, all routing is within the /api namespace.
The ThreeDService Swagger
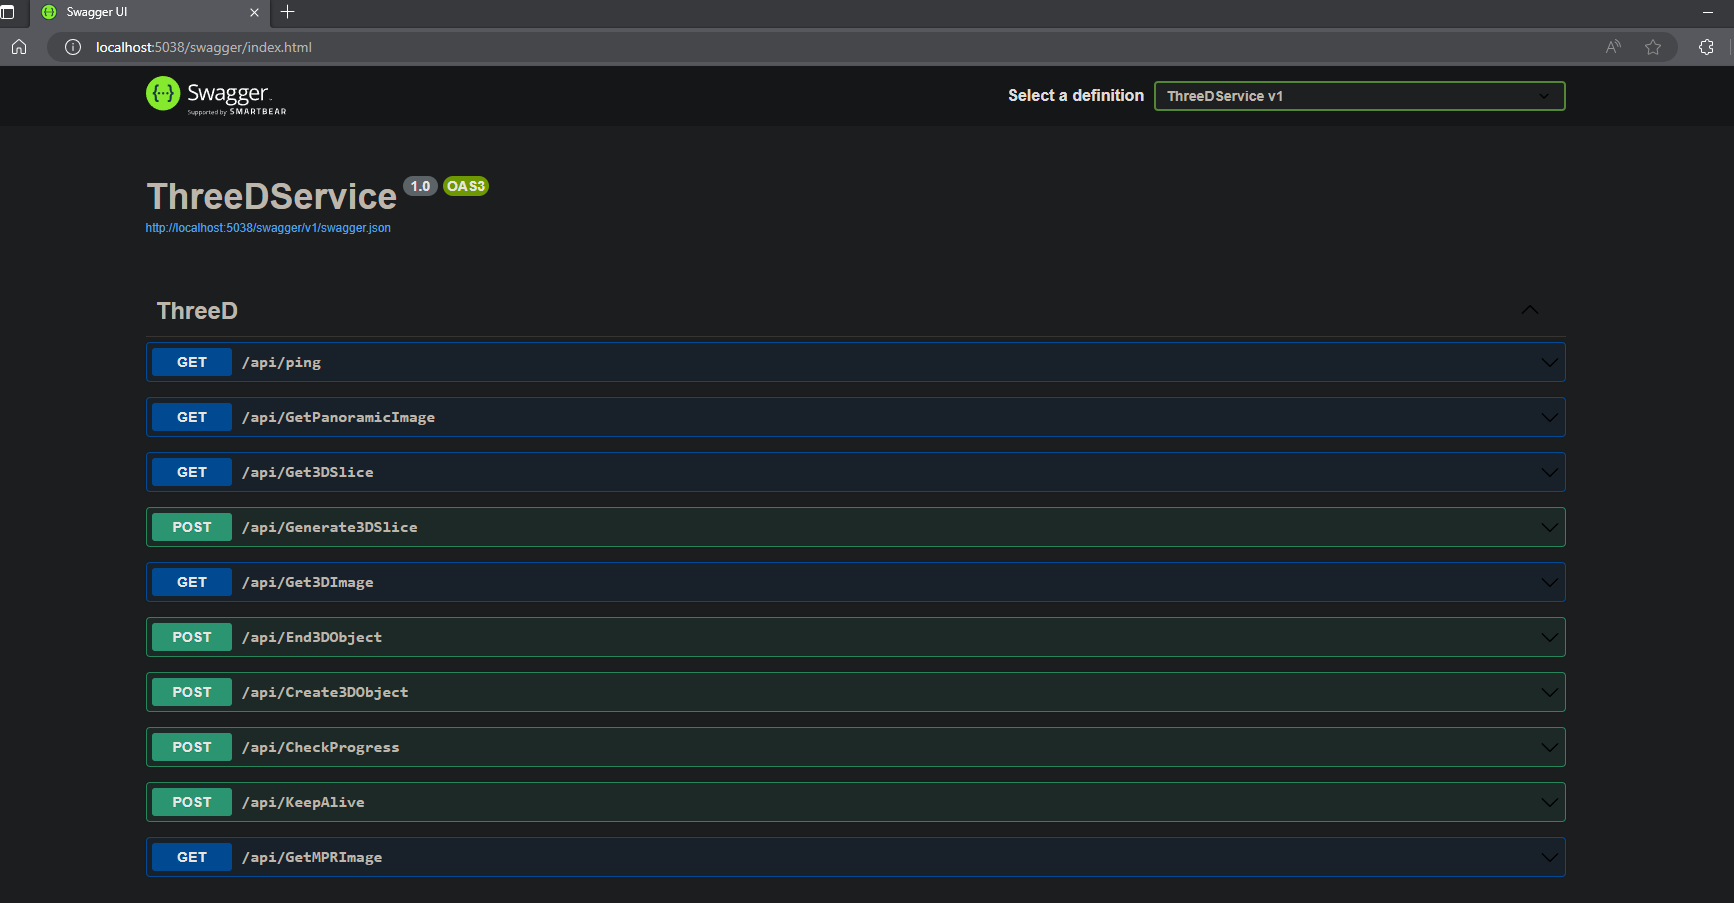
The Swagger page for the ThreeDService API displaying a variety of endpoints, primarily used for Medical imaging:
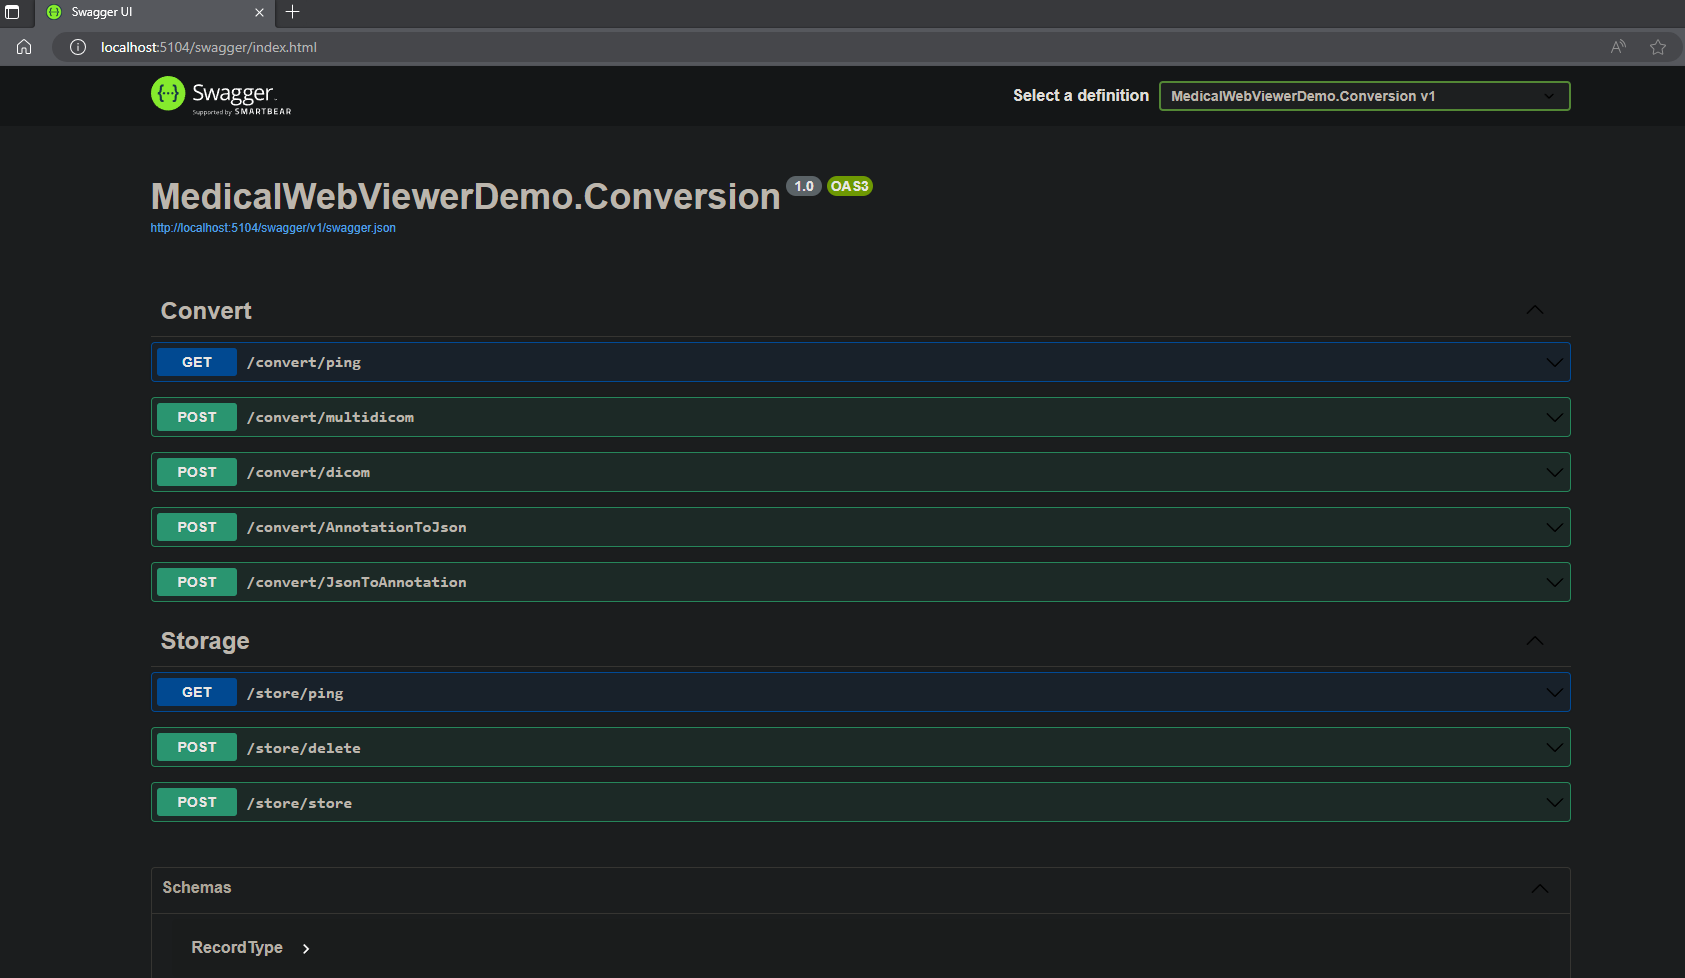
The Conversion Swagger
The Swagger page for the MedicalWebViewerDemo Conversion API displaying a variety of endpoints for conversion and storage functions, such as converting a DICOM file:
The Medical Web Viewer
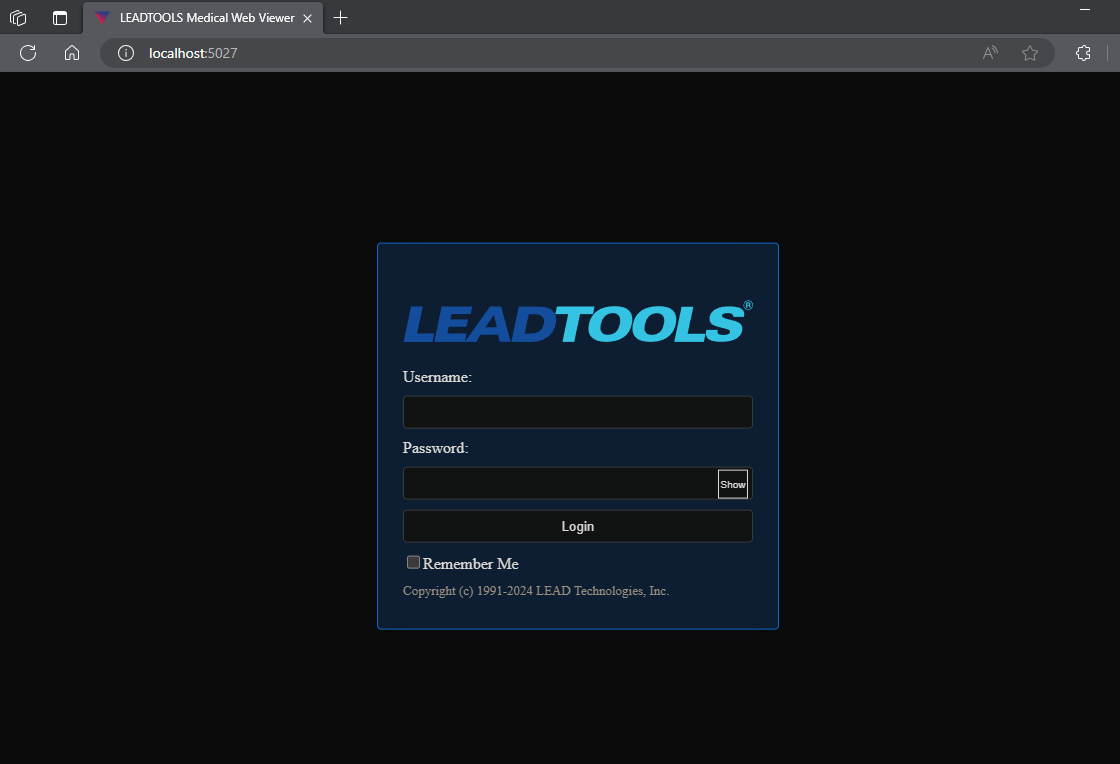
To open the Medical Web Viewer, navigate to the browser tab containing the default login page:
- Log in as an Admin to the Medical Web Viewer portal.
-
Ensure that the
Adminuser has all necessary privileges:-
Click on the
Admin's username in the top-right of the window and selectPermissions Management: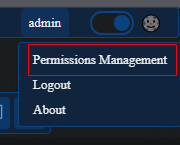
-
Click on the
Rolestab, then select theAdminrole. Ensure all permissions are checked: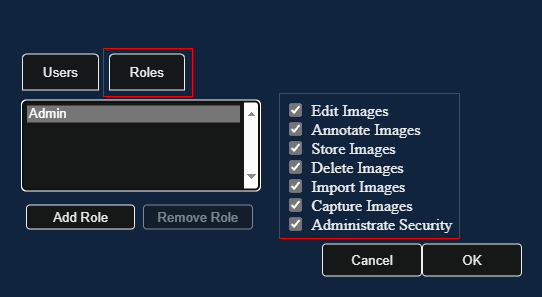
-
Press OK to confirm the changes to the
Adminrole.
-
-
Upload a sample DICOM File:
- Click on the File menu item and select Upload DICOM File.
Note
If the Upload DICOM File option is greyed out, ensure that the current user has the permissions required to upload files.
- Upload any sample DICOM file (
.dcm) from<LEADTOOLS_INSTALLDIR>:\LEADTOOLS23\Resources\Images\DICOM. For this example, we will useimage1.dcm.
-
View the uploaded DICOM File in the Medical Viewer:
-
Click on the File menu item again, this time selecting Patient Search.
-
Click the Query button to query a list of all patients. One of these patients will correspond to the uploaded sample file. In this example, we see that the Patient
J Mack Kirklinhas been uploaded. Left-click the patient name to load their Studies.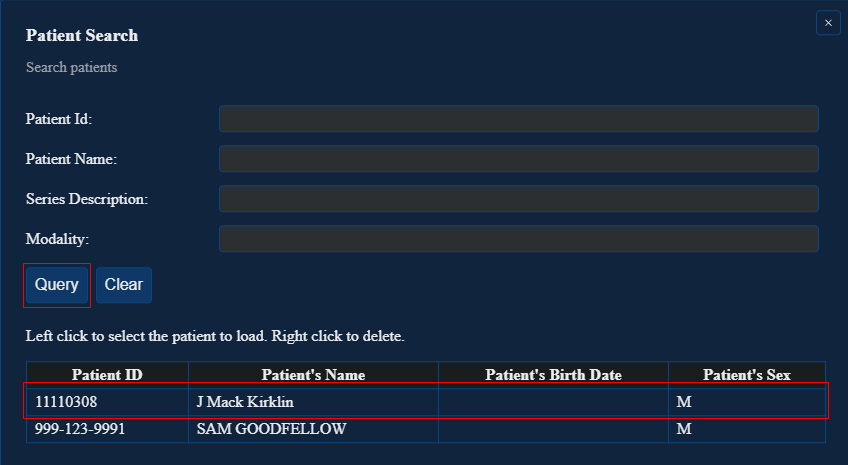
-
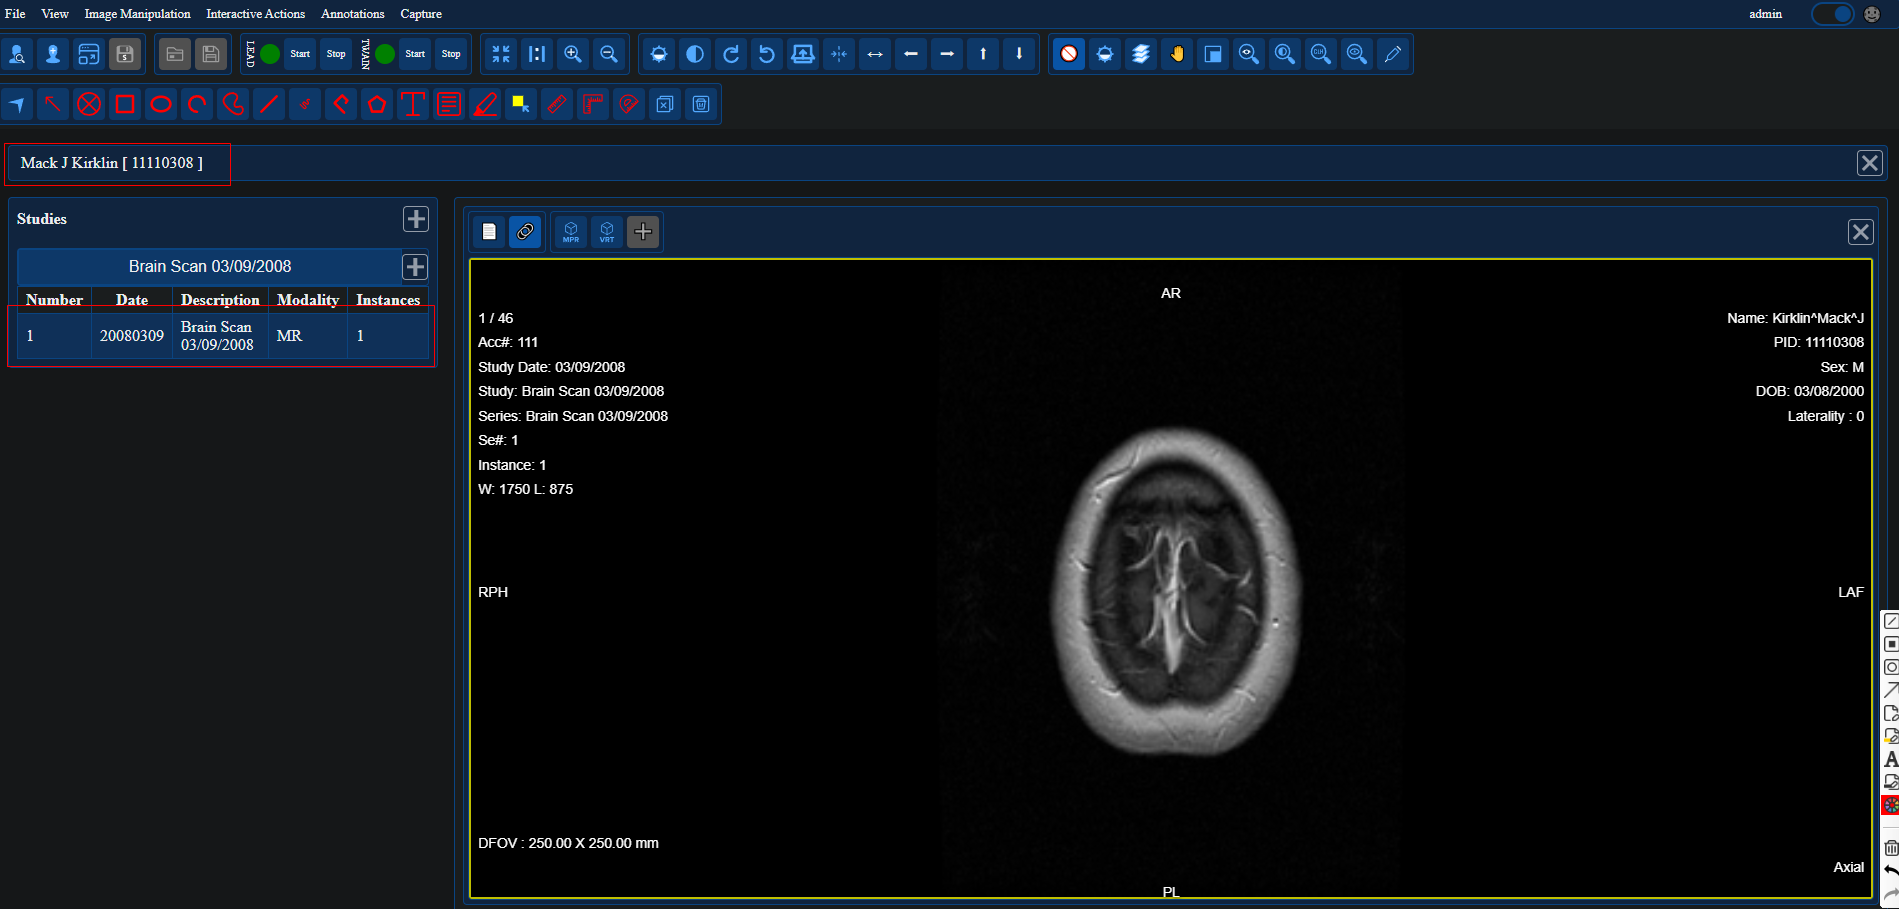
Expand the Patient's fields and click on a study to view relevant content.
-
Wrap-up
This tutorial showed how to configure and run the Medical Web Viewer to load and view patient studies, as well as toured the variety of services utilized by the Medical Web Viewer in order to function properly.
