Package and Run HTML5 Examples with TypeScript - HTML5 TypeScript
This tutorial showcases some ways to get started and implement the LEADTOOLS HTML5 and TypeScript Libraries.
| Overview | |
|---|---|
| Summary | This tutorial covers how to implement LEADTOOLS HTML5 and TypeScript Libraries using the documentation examples. |
| Completion Time | 30 minutes |
| Project | Download tutorial project (68 KB) |
| Platform | HTML5/TypeScript Web Application |
| IDE | Visual Studio 2017, 2019, Visual Studio Code - Client |
| Runtime License | Download LEADTOOLS |
Required Knowledge
This tutorial makes use of http-server, a console command for running a static file server. Make sure that http-server is installed. If it is not installed, first install Node.js then install http-server. Below are their corresponding download links:
Create the Project
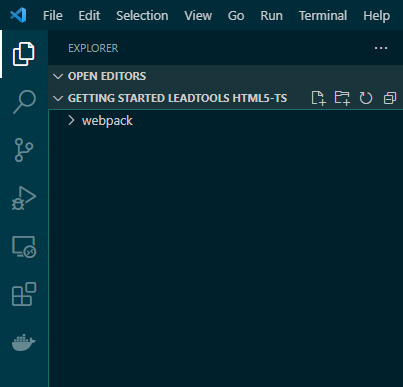
Open Visual Studio Code and create a new folder that will serve as your projects directory, for the purposes of this tutorial you can name the folder Getting Started LEADTOOLS HTML5-TS.
Install Add-ons with the Terminal
Create a new folder named webpack inside the new folder you created.
Open a new instance of Command Prompt, and cd into the webpack folder created in the previous step; or open File Explorer, navigate to the webpack folder, and type cmd in the drop-down menu bar containing the file path. Run the following commands below to add the necessary add-ons into the webpack directory.
npm i --save-dev webpack webpack-clinpm i --save-dev babel-loader @babel/core @babel/preset-typescript @babel/preset-env @babel/plugin-proposal-class-propertiesnpm i --save-dev typescript ts-loadernpm i http-server
You may have to run npm init and then the other commands in order to have the setup shown in the picture below.
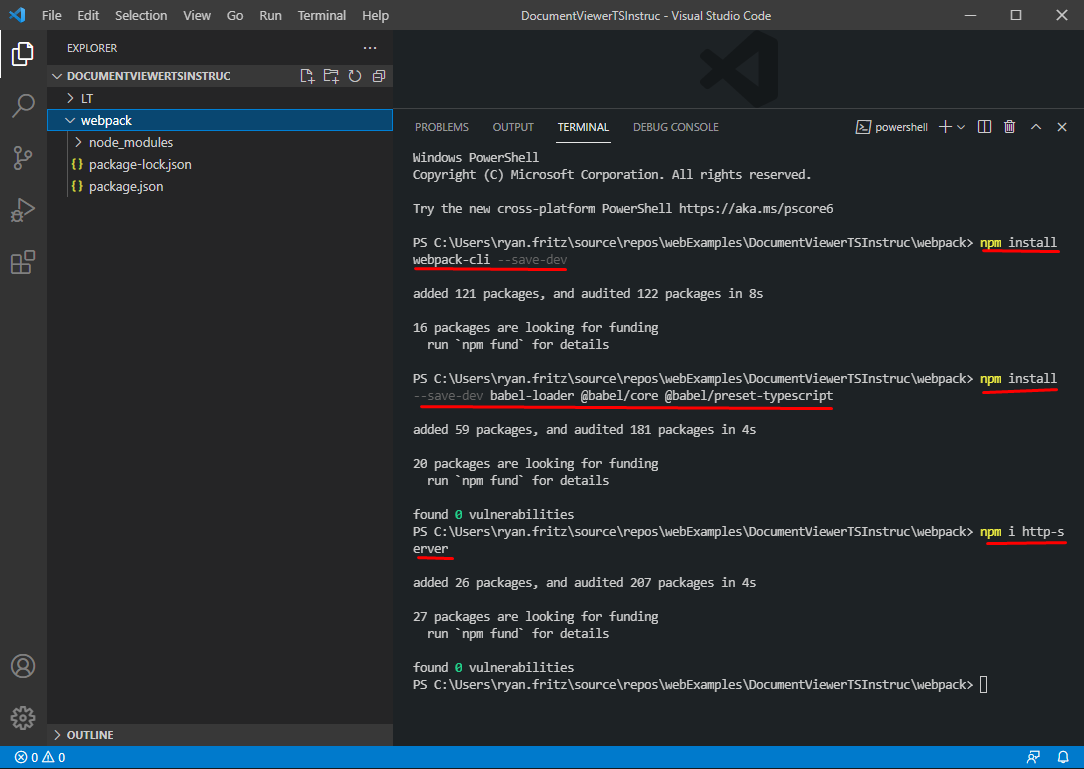
Make sure the package.json file looks like this to ensure everything installed correctly. The script part is optional but it helps to run the webpack command.
{"scripts": {"startTS": "webpack --config ./webpack.config.TypeScript.js"},"devDependencies": {"@babel/core": "^7.15.8","@babel/plugin-proposal-class-properties": "^7.14.5","@babel/preset-env": "^7.15.8","@babel/preset-typescript": "^7.15.0","babel-loader": "^8.2.2","ts-loader": "^9.2.6","typescript": "^4.4.4","webpack": "^5.59.0","webpack-cli": "^4.9.1"}}
Adding the LEADTOOLS Dependencies
Create a folder inside the webpack folder named LT. This folder will contain the LEADTOOLS dependencies needed to run the application. The LEADTOOLS references needed depend upon the purposes of the project. References can be added by .js files located at <INSTALL_DIR>\LEADTOOLS23\Bin\JS. In order to see the dependencies needed for your application, you will want to view the .html file located in the example on the documentation page that you wish to use.
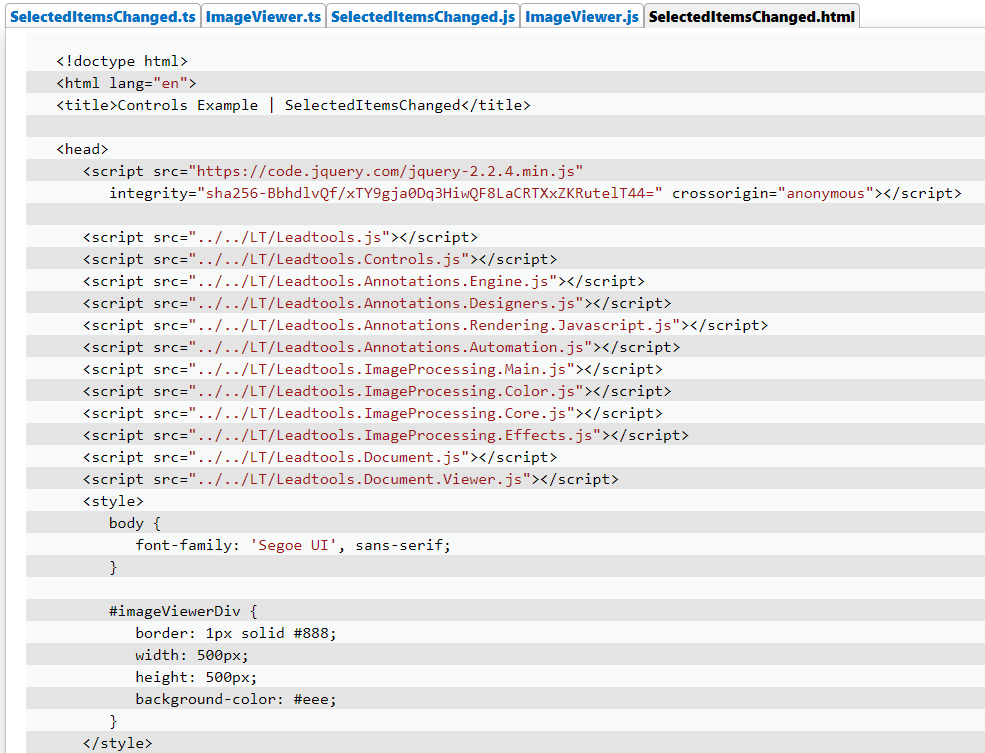
For the purposes of this tutorial we will be using the example in the selectedItemsChanged Event documentation page. This example requires the following .js LEADTOOLS files:
Leadtools.jsLeadtools.Controls.jsLeadtools.Annotations.Engine.jsLeadtools.Annotations.Designers.jsLeadtools.Annotations.Rendering.Javascript.jsLeadtools.Annotations.Automation.jsLeadtools.ImageProcessing.Main.jsLeadtools.ImageProcessing.Color.jsLeadtools.ImageProcessing.Core.jsLeadtools.ImageProcessing.Effects.jsLeadtools.Document.jsLeadtools.Document.Viewer.js
Be sure to place these .js files inside the newly created LT directory. For a complete list of which JS files are required for your application, refer to Files to be Included with your Application.
Add Files to the src Folder
Create a new folder named src, inside the webpack folder.
Create the .ts files from the example and place those files into the src folder. Copy and add the contents of the .ts files in the example accordingly. The SelectedItemsChanged example requires a SelectedItemsChanged.ts file and an ImageViewer.ts file.
Next, create a new HTML file named SelectedItemsChanged.html, inside the src folder. Inside this new HTML file copy and paste the code provided in the example.
Create the index.ts File
Inside the src folder, create a new file named index.ts. Add the code below to the new file.
import { (Class name in the ts file) as (end of the call name)} from './( name of ts file)';const ImageViewer = {(end of the call name)}const examples = {ImageViewer};window['examples'] = examples;
Depending on the specific example you are working with, there will be some words and routing you will have to replace/change. This will be explained in the following steps.
Also, if the example contains a helper file, in this case the ImageViewer.ts file, be sure to create this file in the src folder and add the necessary code to it. The source code for the helper file is provided in the documentation page example.
Note
At the top of
<EXAMPLE_NAME>.ts, be sure to reference the<HELPER_FILE_NAME.ts>file as shown below:
import { ImageViewer_Example } from "./ImageViewer.ts";
View the .html file of the example you are working on and scroll to the bottom of it and locate where it calls for a windows.onload call. Make sure the windows.onload call looks as it does in the screenshot below.
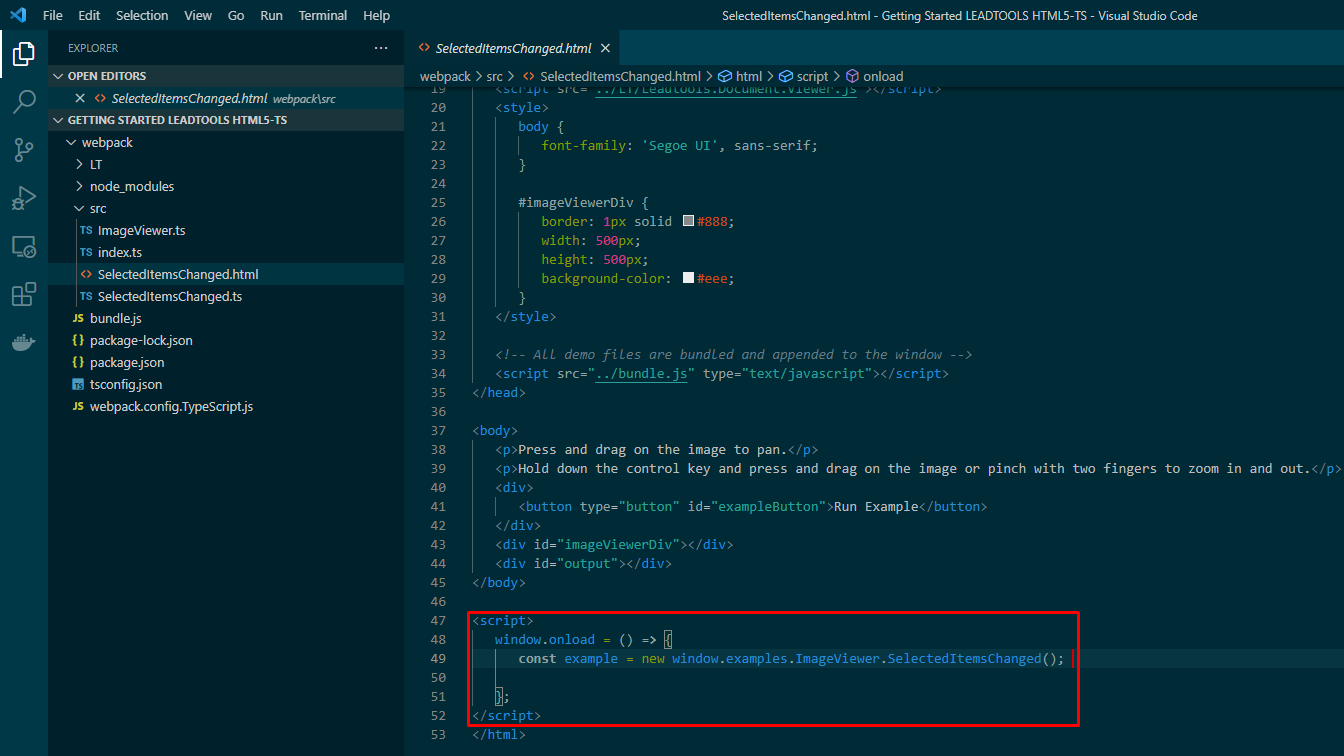
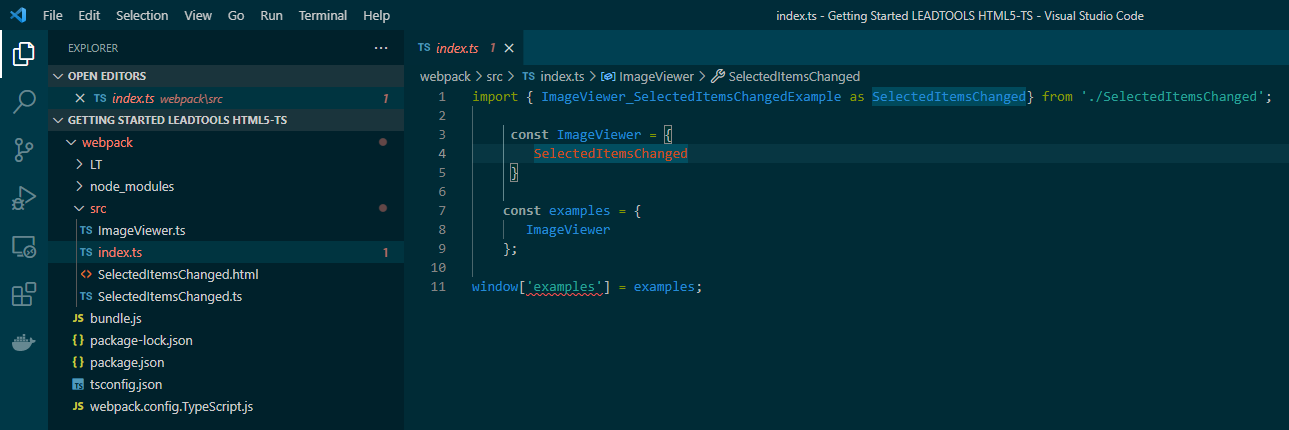
When this is done, go back to the index.ts file to then fill in where indicated by "end of the call name", with what was copied in the .html file. The finished index.ts file should look similar to the following code:
import { ImageViewer_SelectedItemsChangedExample as SelectedItemsChanged } from "./SelectedItemsChanged";const ImageViewer = {SelectedItemsChanged}const examples = {ImageViewer};window['examples'] = examples;
Create the webpack.config.TypeScript.js and tsconfig.json Files
In the webpack folder create two new files, webpack.config.TypeScript.js and tsconfig.json. Add the code below to the tsconfig.json file.
{"compilerOptions": {"outDir": "dist","noImplicitAny": true,"module": "es6","target": "es5","jsx": "react","allowJs": true,"moduleResolution": "node"}}
Add the code below to the webpack.config.TypeScripts.js file.
var path = require('path');module.exports = {mode: 'development',entry: './src/index.ts',output: {filename: 'bundle.js',path: __dirname},module: {rules: [{test: /\.(ts|js)x?$/,exclude: /(node_modules|bower_components)/,use: {loader: 'babel-loader',options: {presets: ['@babel/preset-typescript'],plugins: ['@babel/plugin-transform-typescript']}}}]},resolve: {extensions: ['.tsx', '.ts', '.js'],}};
Run the LEADTOOLS Demo/Document Service
Some examples need you to also run either the LEADTOOLS Demo or Document Service in order to run the example. To find out whether yours does, be sure to check in the comments of the files.
An example of this can be seen inside the DocumentViewer example, within the ViewerInitalizer.js file. Inside the file there is a comment stating the DocumentServices demo needs to be running at the same time in order for the example to work.
Setting up and configuring the LEADTOOLS Document Service is shown in detail inside the "Set up and Configure the Demo with the Document Service" section inside the Get Started with the Document Viewer Demo tutorial.
Run the Project
We need to bundle our files with a webpack terminal command. The command below will make a bundle.js file within the webpack folder.
npm run startTS
Once the bundle.js file is created, run the command below.
http-server ./
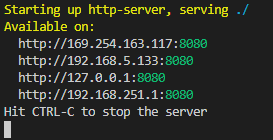
The server should start and run on http://localhost:8080. A message should appear in the console indicating all the ports that the server is available on.
To test, input one of the links that the server is running on and navigate to webpack/ -> src/ ->
Wrap-up
This tutorial showed how to run any TypeScript example located inside the LEADTOOLS HTML5/JS documentation pages.
