Create and Edit Master Forms with the Editor Demo
This tutorial shows how to create a new master form template, modify an existing template, and test recognition against these master forms using the C# WinForms LEADTOOLS Master Forms Editor Demo.
The source code of the demo is installed with the main LEADTOOLS SDK setup.
| Overview | |
|---|---|
| Summary | This tutorial shows how to create and edit master forms using the Master Forms Editor Demo. |
| Completion Time | 10 minutes |
| Platform | .NET Framework |
| IDE | Visual Studio 2017, 2019 |
| Development License | Download LEADTOOLS |
Required Knowledge
Download and install the LEADTOOLS v22 SDK here, and make sure that the license and key files are located in the <INSTALL_DIR>\LEADTOOLS22\Support\Common\License directory. To set the license, refer to the Add References and Set a License tutorial.
Get familiar with the overview of how LEADTOOLS Forms Recognition works by reviewing the following:
- Programming with the LEADTOOLS Forms Recognition Processing Engine
- Forms Recognition and Processing Workflow
A LEADTOOLS product that supports Forms Recognition is needed, such as LEADTOOLS Document Imaging Suite.
Open the Master Forms Editor Demo
Navigate to the example source code for the project:
<INSTALL_DIR>\LEADTOOLS22\Examples\Forms\DotNet\MasterFormsEditor\MasterFormsEditor.csproj
Open the project in Visual Studio and open the Master Forms Editor Demo using Start or F5.
Create the Master Form and Add a Page
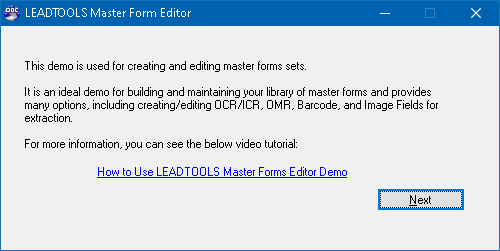
Once the demo starts, it displays the following dialog box. Click Next to continue.
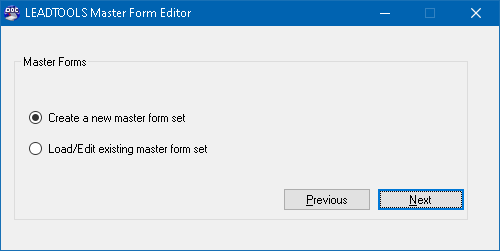
In the next dialog box, it will ask you whether to create or load a form. Choose Create a new master form set and click Next.
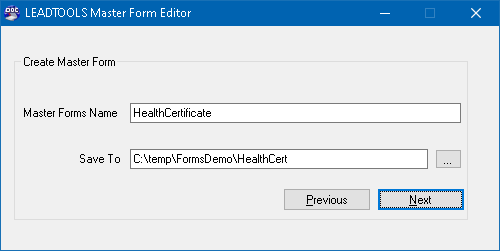
In the Master Form Name text box, enter a name for the master form template, for the purposes of this tutorial the name will be HealthCertificate. Select a location to save the master form template to, for this tutorial we will use the following file path: C:\temp\FormsDemo\HealthCert
Click Next.
An empty form image is needed to begin the design process and create the master form.
Note
As of LEADTOOLS SDK v22, a Master Form that contains any table must have empty cells in the table body.
For this tutorial, we will be using the sample unfilled form image here for the master form. It represents a blank (unfilled) fictional health certification form from a fictional city.
In the Add Page dialog box, keep the options as shown in the following image, and browse to the location of the downloaded blank form image.
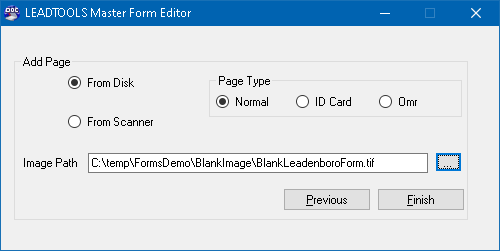
When the image path is specified correctly, click Finish.
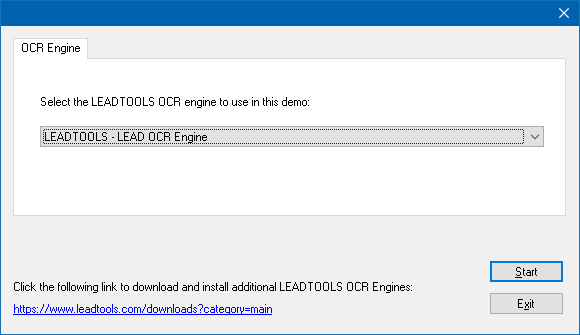
In the OCR engine selection dialog box, choose the LEAD OCR Engine and click Start.
Add Form Fields to the Form
Fields are used to capture data from the filled forms after they're recognized. The type of each field depends on the nature of data that will be filled in it.
The sample form used in this demo will initially have 2 types of fields:
- OMR Fields
- Text Fields
OMR Fields
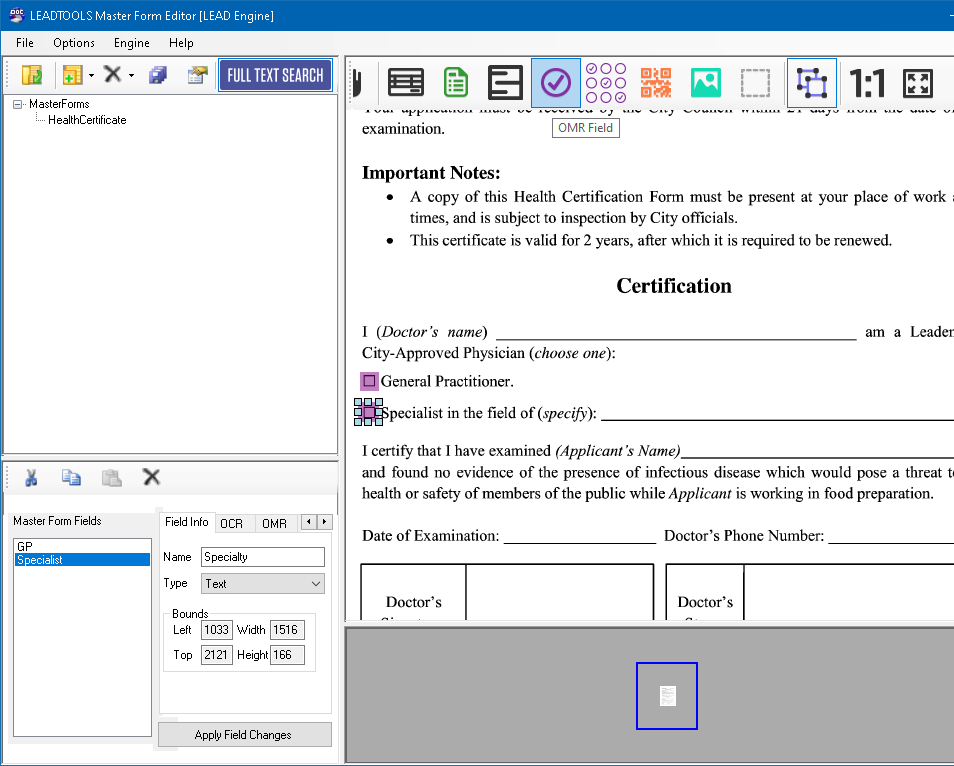
Click the OMR Field button on the ribbon at the top of the window, then draw a field with the mouse around the first check box in the image. Enter GP for General Practitioner in the Name text box at the left side of the window.
Click the OMR Field button again and repeat the same step for the Specialist check box.
When both fields are defined, click the Apply Field Changes button.
Text Fields
Click the Text Field button on the top ribbon then draw a field around each of the five empty text areas in the form and name them accordingly, as seen below:
- Doctor Name
- Specialty
- Applicant Name
- Date
-
Phone
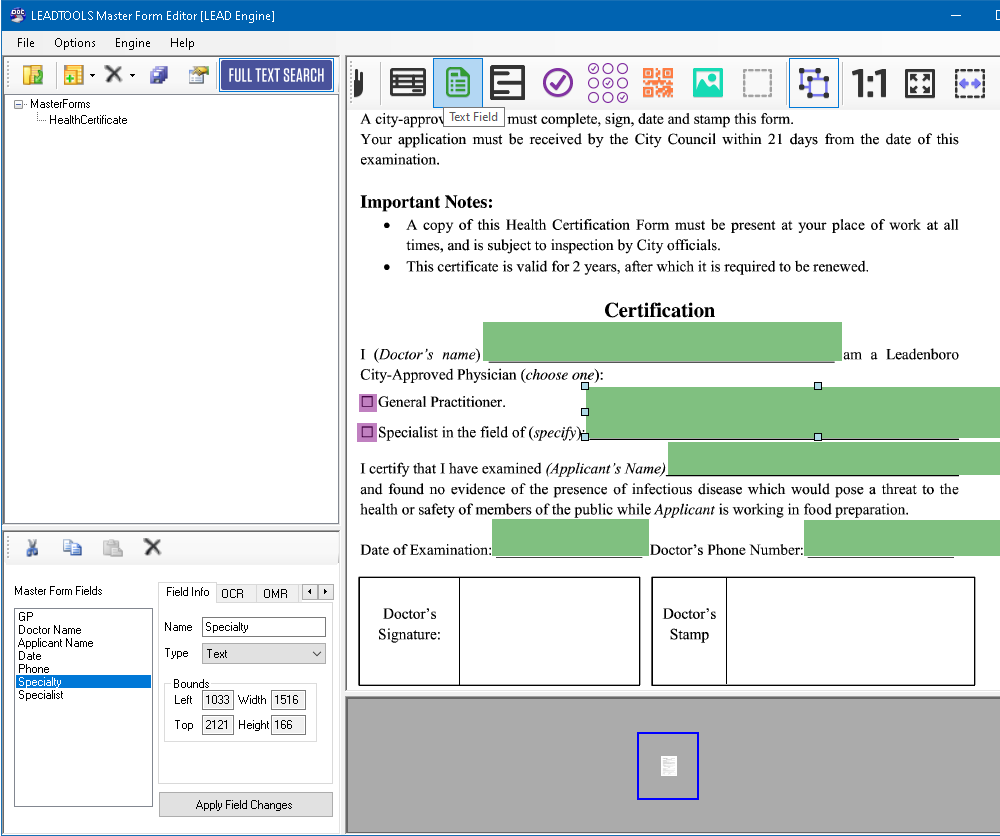
When all 5 fields are defined, click the Apply Field Changes button.
Test the Master Form Against Possible Matches
Now that the master form has the fields defined properly, it is ready to be used for recognizing filled forms.
In the File menu, click the Launch Forms Recognition and Processing Demo item to run the Forms Demo. When presented with the OCR engine selection dialog, choose the LEAD OCR Engine and click Start.
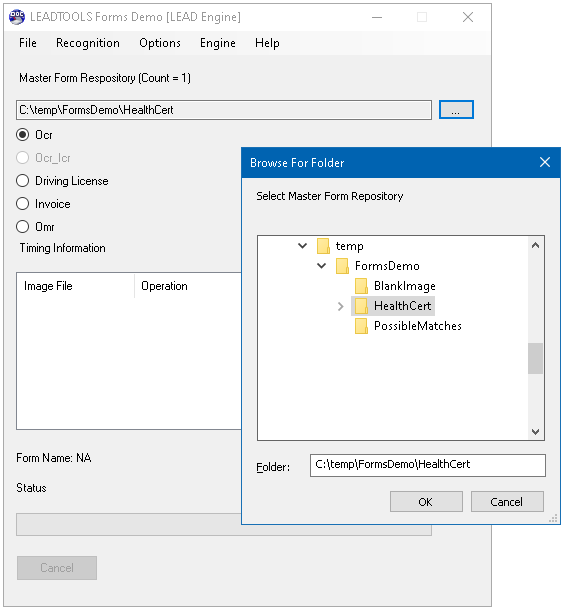
The Master Form Repository text field holds the path for the folder containing the master form(s) used for recognition. By default, this is the path specified in the Create Master Form dialog box earlier. This path can be changed by clicking the ... button and browsing for the location of the master form.
For the purposes of this tutorial, there are six test images provided in this Compressed (zipped) folder. Three of them are actual filled forms and the other three are unrelated images that function as control samples.
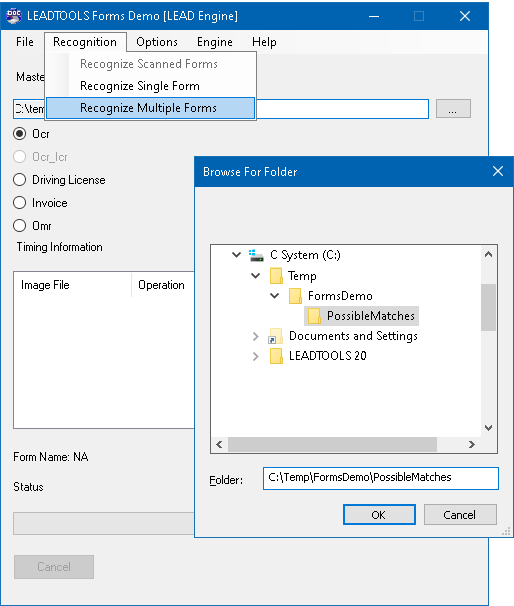
In the Recognition menu, click the Recognize Multiple Forms item and browse to the folder that contains the 6 sample images and click OK.
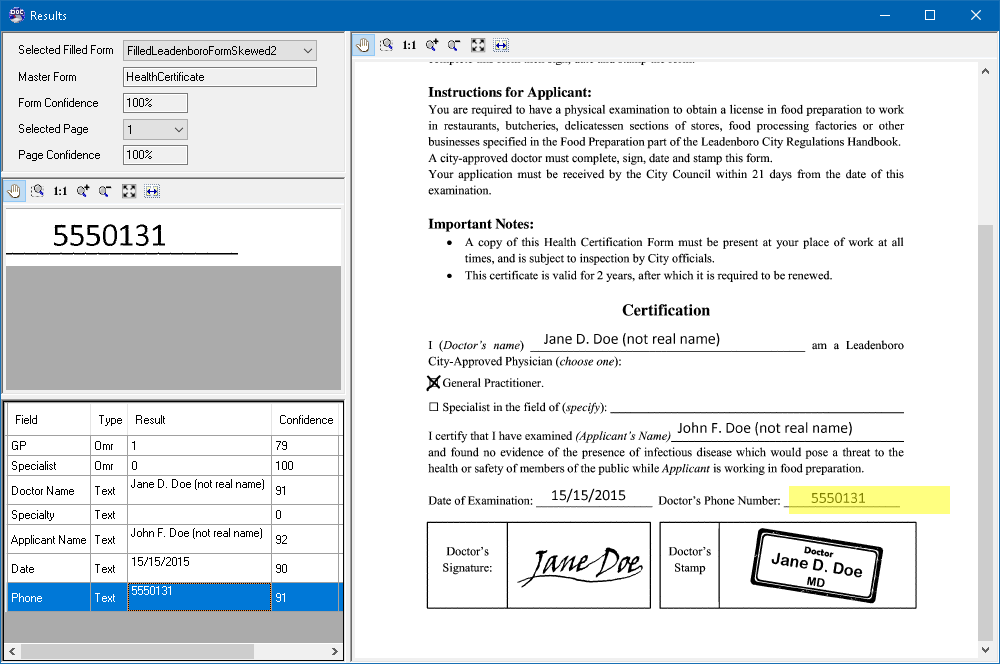
The files in the folder are processed, and out of the 6 images, 3 matching forms are recognized and returned in the results window.
Modify Existing Form
In order to modify an existing master form, close both the Recognition Demo and the Editor Demo.
Create a new folder and copy the following files to it from the folder that contains the Master Form template created earlier:
- HealthCertificate.bin
- HealthCertificate.tif
- HealthCertificate.xml
Run the 64-bit .NET Framework Master Forms Editor demo again.
When the dialog box asking whether to create or load a form is displayed, choose the Load/Edit existing master form set option and click Next.
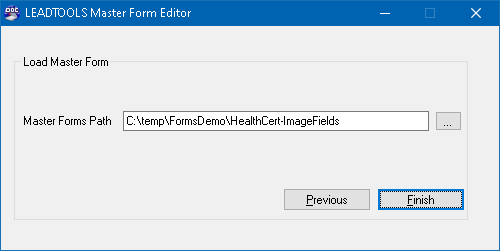
In the Load Master Form dialog box, enter or browse to the new folder that contains the master form copy, then click Finish.
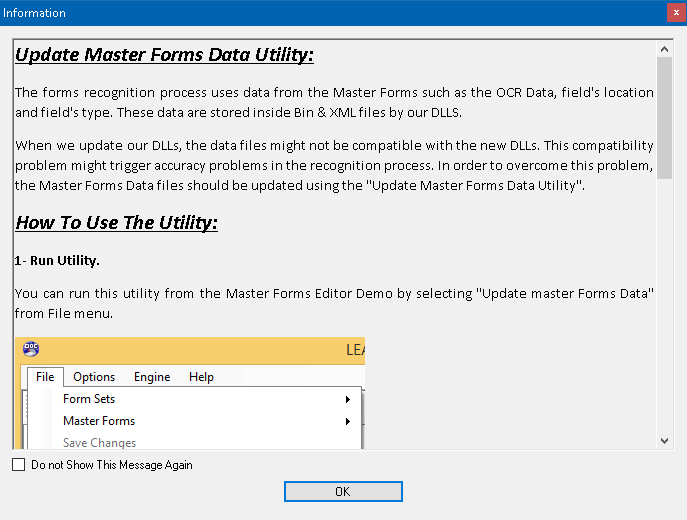
When the Update Master Forms Data Utility message is displayed, click OK. Since the same version of the toolkit is still being used, there's no need to update the master form data.
In the OCR engine selection dialog box, choose the LEAD OCR Engine and click Start.
When the demo starts, click the name of the form at the left top pane to display it in the designer.
Click the Image Field button on the top ribbon then draw 2 fields, one around the Signature area and the other around the Stamp area, and enter their names.
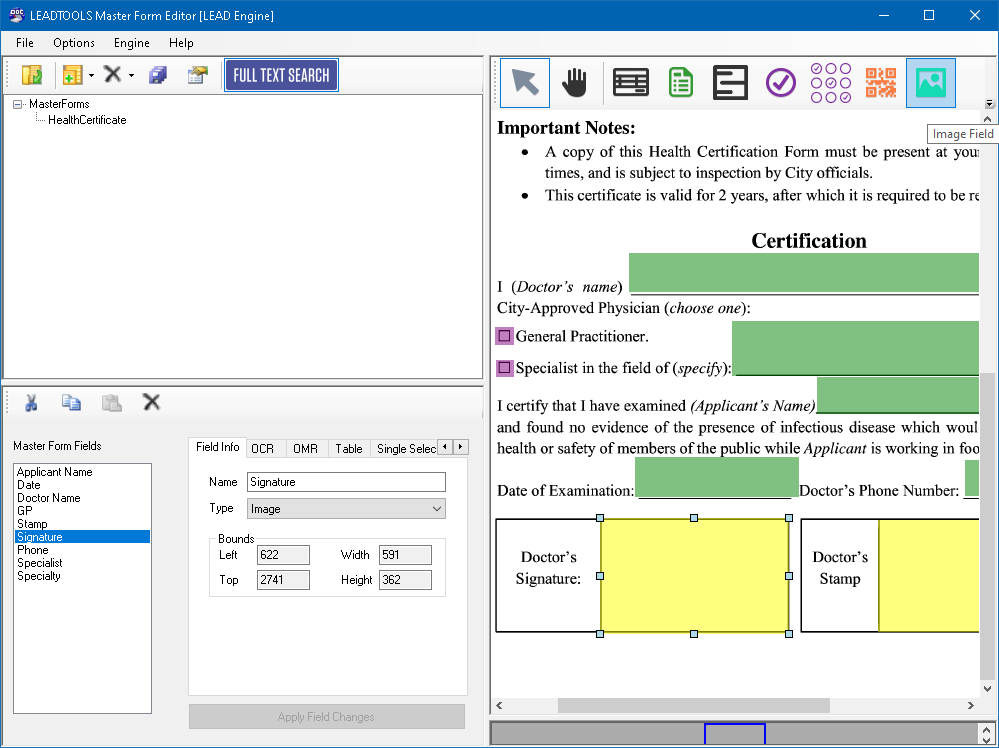
Once both fields are defined, click the Apply Field Changes button.
Repeat the steps in the Test the Master Form Against Possible Matches section above to test the modified master form, and use the same 6 images as before.
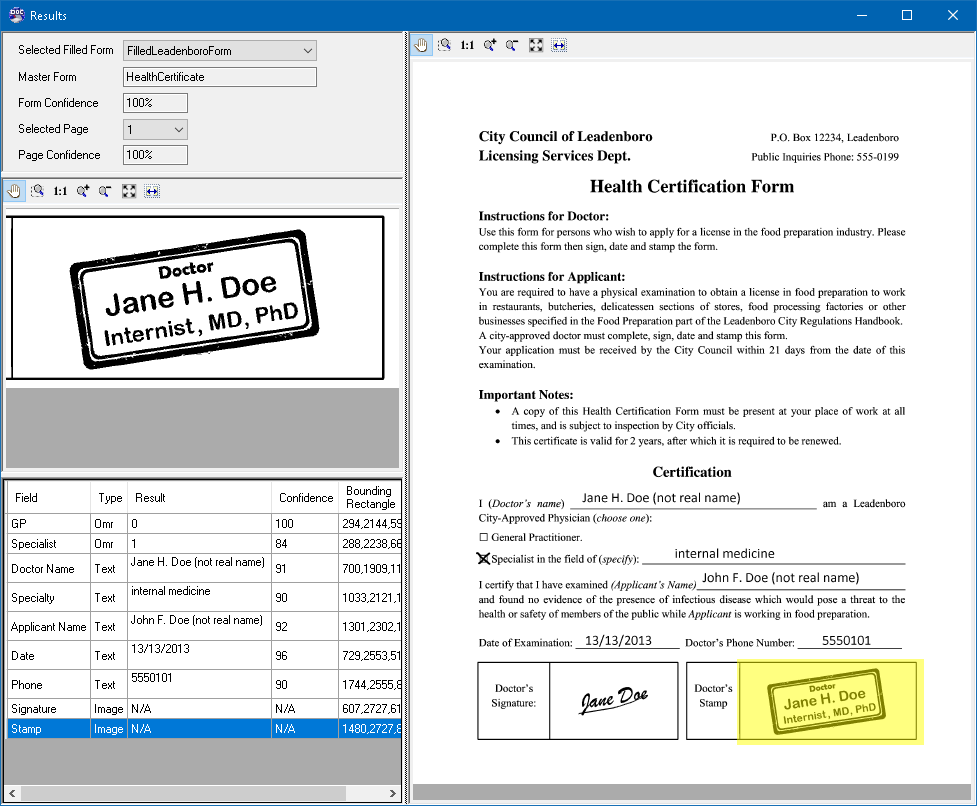
Notice how the new results include the images for the doctor's signature and stamp.
Wrap-up
This tutorial showed how to use the Master Forms Editor demo to create a master form template and modify it. It also showed how to test the master forms against filled forms using the Forms Demo.
